Wednesday, May 27, 2015

Rhinestone Table Numbers for your next party

MY STORY

     It's Decorate To Celebrate Challenge Time again!

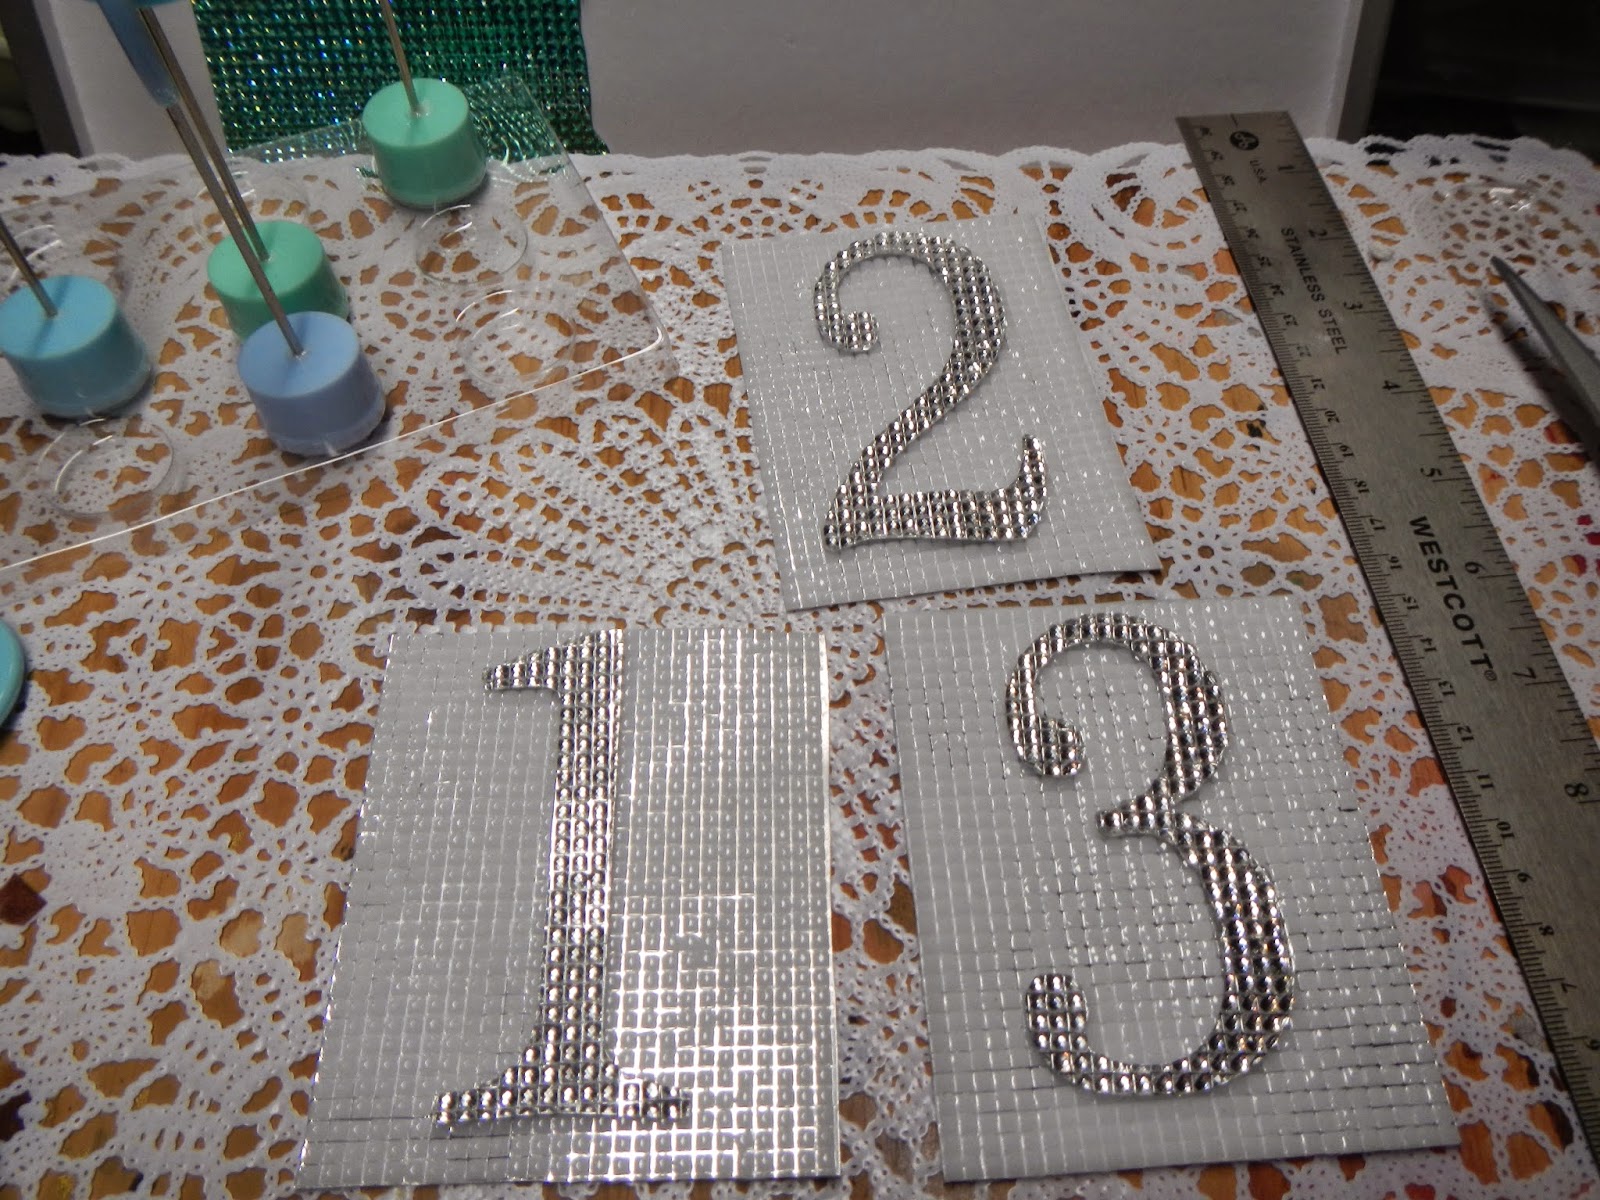
     I am still old school in some aspects, and in my crafting world, I still work only with scissors.  There are several die cutting machines out there but I have yet to take that plunge!  So I was so happy to use these pre-cut numbers from THE BUCKLE BOUTIQUE.  I also had some leftover baby-themed table placecard holders.  So with some of the Buckle Boutique project, I was able to reuse these for a wedding themed table number holder.

     With all of the great product from The Buckle Boutique, you can easily customize this idea for any color palette the bride wants!  This adds a  nice blingy touch to your wedding.  For this example, the bridesmaids were wearing teal dresses and The Buckle Boutique had just what I was looking for!  And the pre-cut numbers made quick work of this project.

YOUR TURN

    You will need table number holders, pre-cut rhinestone numbers, complementary rhinestone sticker sheets for the backing and for wrapping the holders.


     I felt that the white rhinestone sticker sheet was the best complementary color to use to back the silver numbers.  Cut out into even pieces.  Adhere your numbers right onto the white.  NOTE:  do not pull off the adhesive backing on your white sheet.  You will need to keep it thicker to stand up.  Also, you would repeat all these steps for the backing if you need to see all around the holder.


    Trace the base and top of the holder and apply your rhinestone sheet.    I also painted the inside of the base as the baby blue color wasn't part of the palette.


    And that is it!  Hope you have fun crafting and don't forget to check out Decorate To Celebrate Blog and the great products available at The Buckle Boutique.  


RhinestoneBorder
Follow The Buckle Boutique at our Blog  //  Facebook  //  Twitter  //  Pinterest
Shop The Buckle Boutique at our Main Store and Etsy
Tips and videos for cutting our rhinestone sticker sheets can be found HERE
Are you a retailer who would like to carry The Buckle Boutique's products in your store?
Please contact us for wholesale pricing information.

Thursday, May 14, 2015

Add POP to your Pics

MY STORY

     I always love trying out new techniques and equipment.  I recently wandered the aisles of my local BLICK art store and picked up these paint markers: DecoColor opaque paint marker manufactured by Marvy Uchida.


     I liked these markers because they have a paint consistency but with the control and accuracy of a marker.  Some colors are vivid, some more subtle.  What did I do?  Check it out below!

YOUR TURN

     I tried this new technique and I think the outcome is fun!  Without using sophisticated photo editing software, I was able to incorporate fun pops of color on some of my photos.

    Pick a few different types of photos -- people, music, landscape, etc.  In a basic editing program like Picasa (Google web application), save your photo and then change your photo to black and white.
Print out on glossy photo paper. Some images work better than others.


   And then just doodle with the markers.  HINT:  Test your marker on a scrap of the photo paper to insure the color will stay on the paper.  This is PAINT, so you need to let dry as it will smudge.  Also, once you are done with your scrap paper, it looks like a mini work of art on its own that you can use to make a card, etc.
Even your scraps look artsy!

    Warning, this gets addictive:

ARCHITECTURE


STREET ART
(existing graffiti and street art from a trip to The Highline Park in NYC):


BANDS AND MUSIC
(Fun for musicians)


PEOPLE


FLOWERS


Wednesday, May 13, 2015

Sushi Bling with The Buckle Boutique

MY STORY

     I love sushi and since my husband is learning how to make sushi at home, I wanted to create an easy way to jazz up some chopsticks, etc.  In addition to their rhinestone sheets, THE BUCKLE BOUTIQUE also features glitter vinyl products as well as pins for chair sashes, etc.  I used this opportunity to create some pretty place settings for our next sushi extravaganza!!!  Check out BUCKLE BOUTIQUE website for items used in this project.

YOUR TURN

    The remaining supplies were from Pearl River Mart, an amazing store in NYC filled with three floors of asian inspired items.  Great pricing.  If you can't get to NYC, check out their website: PEARL RIVER MART website


    I picked up some simple chopsticks and just by adding a bit of bling, you can create some sparkly sushi utensils.  These would need to be hand washed.  I also recommend keeping your bling at the top of the chopsticks, not near the pointy end.  You need just a little bit of materials for these.  Here are a few different examples.  The sheets are easy to cut through and easy to apply.


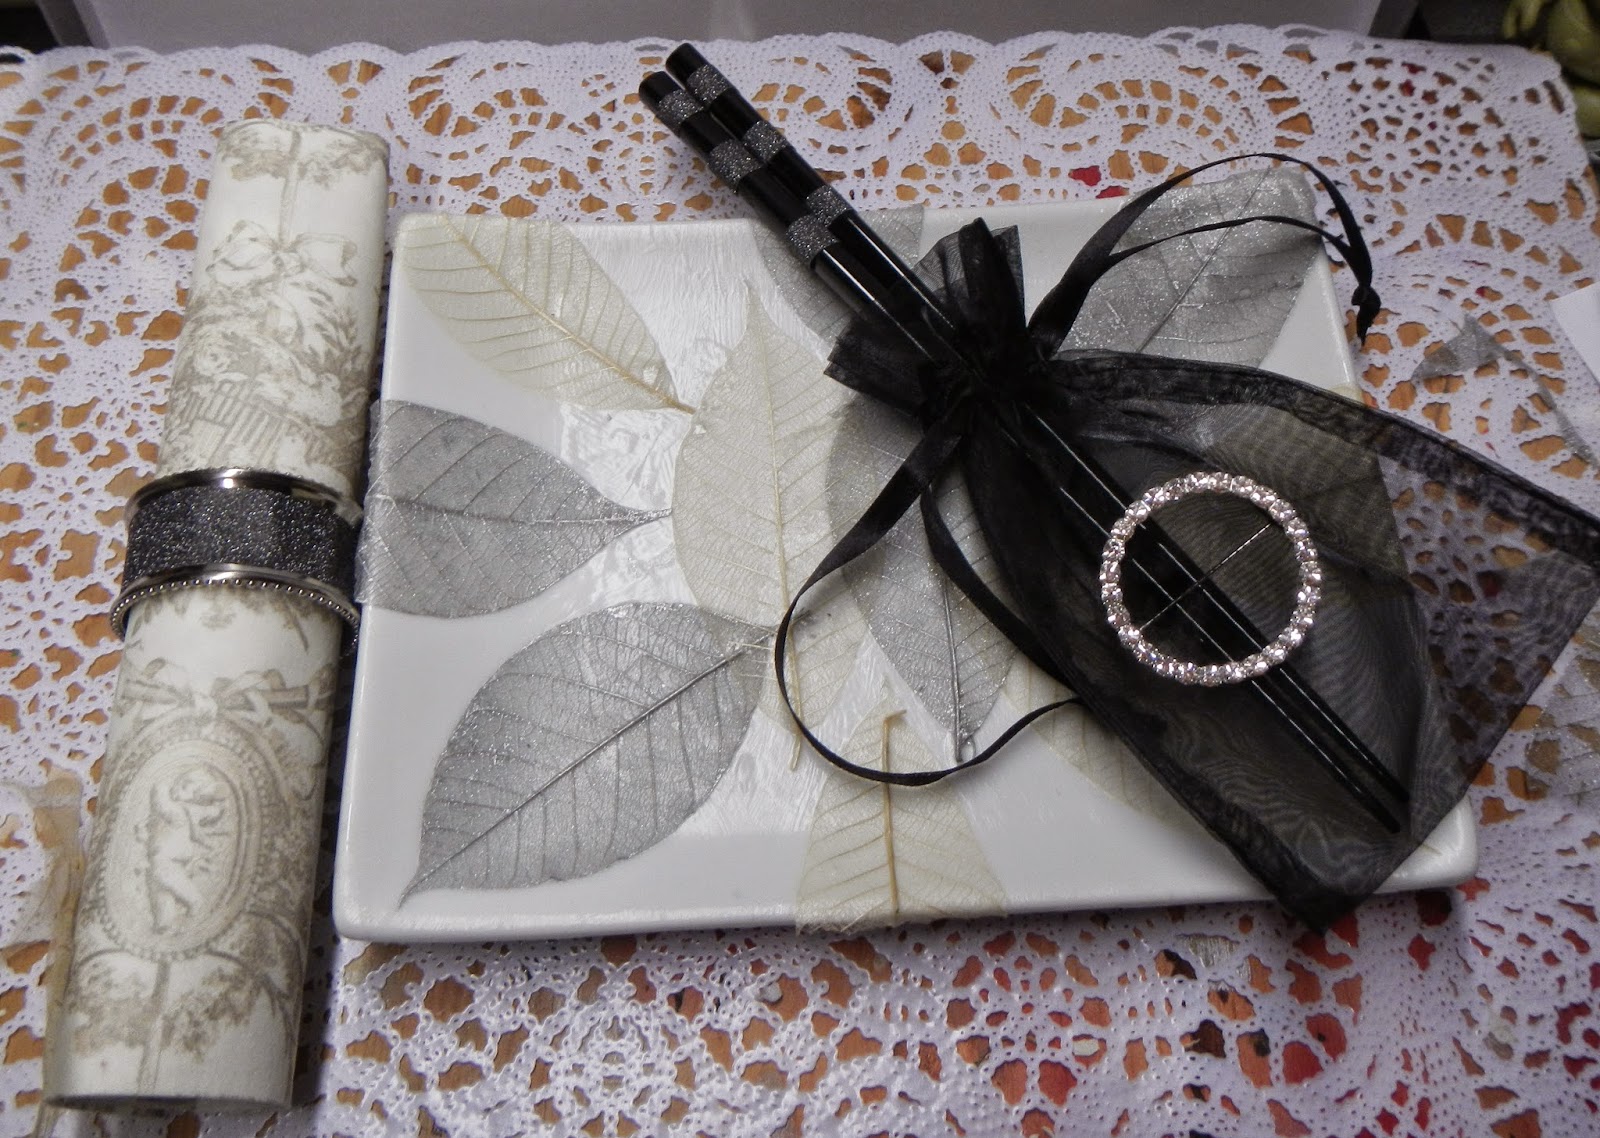
   As mentioned, THE BUCKLE BOUTIQUE also has pins that I decided to use as napkin rings.  I also added some of the glitter vinyl sheet to store bought napkin rings.  Whenever you want to decorate  napkin rings, look for a design that has a large base to work with.  These rings worked out perfectly. I also added the pin to a small organza gift bag as I thought they would make the chopsticks look even more special!


   The other item I found at Pearl River Mart were rubber tree leaves.  They were so pretty and 12 to a package for a very reasonable price.  Taking a simple and inexpensive plate, coat with a thin layer of Mod Podge.  Mod Podge is great because it asks as both a glue and a sealant.

   After you apply, gently place the leaves as desired.  I like to have some hanging off the edge to create a more unusual look.  These will be trimmed once your glue is dry.  Once the leaves are placed, gently add another coat of Mod Podge.  Let dry completely -- it will dry clear, don't worry.


     Once dry, add another thin layer and let dry.  If you are using for food, I recommend placing a piece of waxed paper underneath the food just to insure food safety.  But Mod Podge works great and you can hand wash.

    And that's it, just by changing out the color of the chopsticks or napkins, you can create many different looks.


  Have fun!!


RhinestoneBorder
Follow The Buckle Boutique at our Blog  //  Facebook  //  Twitter  //  Pinterest
Shop The Buckle Boutique at our Main Store and Etsy
Tips and videos for cutting our rhinestone sticker sheets can be found HERE
Are you a retailer who would like to carry The Buckle Boutique's products in your store?
Please contact us for wholesale pricing information.

Washi Tape Coasters

MY STORY

     I am happy to see that the Washi Tape trend is far from over.  I love this product -- it comes in a large array of colors, patterns and widths.  It is easy to use -- to cut and apply and it sticks on almost anything.

    I had a bunch of photo coasters left over and thought that Washi Tape would be a quick and fun way to decorate them.  I have used these photo coasters on other projects so I thought they were perfect to use for this, even if the photo part is covered up.


     You can also use plain white tiles from the home store which you can get at really low prices.  This is a nice housewarming or hostess gift and you can even use these finished tiles as home decor items. 

YOUR TURN

   Choose the Washi Tape colors/patterns  you want to use.  I recommend using three different colors, in at least two different widths.  I tested a few different layouts and for me this looked the best.  And now I am currently obsessed with Tiffany Blue and Gold.  But this project can be adapted to any holiday or event, simply by choosing different tapes.  These are all readily available online and at craft stores and the rolls go a long way.  (HINT:  I tried using duct tape but the washi tape works much better.)

   Simply lay out patterns and play with what looks best to you.  The tape sticks well, but is easy to remove if you want to change your design.  Lay out and I like leaving tails off the edges as it is easier to trim that way.  When you are ready to trim, lay the coaster upside down as it is easier to trim that way. Smooth out any bumps you may have on the tape.


   Once you have applied the tape, use Mod Podge as a sealant.  Mod Podge comes in different finishes.  I choose the Antique Matte finish for this product, but any finish would be fine.

   Apply a thin coat with a foam brush.  Let dry.  Apply two more coats, making sure each coat dries before applying the next layer.  The Mod Podge dries clear, so don't worry if it looks cloudy at first.


   The photo coasters also came with a stand which I added tape to for a quick hostess or housewarming gift.


   And that's it....it is so easy and it becomes addictive after a while.  You will be using Washi Tape on everything!