Monday, September 22, 2014

Sights and Sounds from Maker Faire NYC 2014

The Makers Faire is an amazing conglomeration of sights and sounds...of food and music....of everything fantastic about "makers" and "diyers".  Held on the grounds of the NY Worlds Fair,
 The Makers Faire features all that is new and exciting in the world of 3D printers, laser cutters, technology, incorporating science into crafting and some of the best food trucks in NY.

 Mark your calendar for next September for NYC (the faire is held in other cities, check out their website www.makersfaire.com).  I loved the diverse group of families, people and activities.  There is so much hands on activities for kids - make your own marshmallow pipe launcher, rocket launchers, beginner circuit building -- I can't speak highly enough about this event. As they bill themselves, "The Greatest Show and Tell on Earth".   Here is a sample of what caught my eye.

OK, first of all, the food.  Some of the best food trucks EVER....My brother, husband, nephews and I all choose different foods for lunch from Philly Cheese Steaks, to Shish Kebab, Fish Tacos, Asian hot dogs and my personal favorite Arepa - which is basically a corn flatbread , two pieces, with melted mozzarella.  It is so sweet and yummy...like a grilled cheese donut.  Bad for the hips, great for the lips.

Can you say paella?


The faire is just so visually stunning and interactive and I loved this display of bright red and pink plastic tubing over an LED grid which the little ones were just loving.  Reminded me of the disco floors a la Saturday Night Fever.  OK, I'm dating myself, but same fun!


There is a lot of tongue in check going on - like the big display when we entered of fish and lobster tied on to a old car.  As the poster said, "What can be more annoying than an animated singing fish?  Try 250 of them bolted to a Volvo and singing Opera."  The Sashimi Tabernacle Choir from Houston.

Steam punk for Days!!!

When you can combine some science principles into crafting?  Hence, I was drawn to the Loop of the Loom exhibit (www.LoopoftheLoom.com) and their beautiful Bengala Dyes.  They offer workshops in NYC....beautiful projects featuring stencil dyes and Itajime-Shibori (a Japanese resist technique)on scarves.

Brilliant design at the LG booth (was thinking of my trade show projects).  The wall constructed of cardboard tubes, stuffed with their promo canvas bags.  Genius.

There was a fun display of a map of NYC made entirely of electronic bits and pieces.

And who doesn't love a kinetic motion Tick Toc Croc that plays all disco tunes while you pedal around with a steam punk inspired hat?

A vendor to look out for:  Blink Blink.  A company that creates soft circuit e crafting tool kits and instructional video curriculum.  Goal is to empower learning scientific basics while crafting and incorporating circuits into paper crafts or any other DIY project.  Love them!  Check them out at Blink Blink website

Women Crafter Alert:  The Creativity Labs researches and designs ways to improve learning and doing.  They have received funding from the National Science Foundation to study the practices of women crafters.  Sign up to be a survey volunteer.
Survey Sign up

And of course ever the Rock Chick and music fan, I was drawn to this display of objects reacting to music.  It looked like a box of Etch 'n Sketch filings that moved to the music.  How cool would this be on the wall of a club or music venue.  Just saying.


My swag and future projects:

Sun printing on t-shirts


Shadow printing

A card kit that you can incorporate LEDS into your work.  Can't wait to try it.

Sugru - a self setting rubber that amazing capabilities for fixing and protecting gadgets, waterproof repair and make and organize stuff.  I can hardly wait to figure out how to incorporate this into a crafty idea.

What a great day with family, NYers and makers.  I've already put next year's on my to do list!!!
Thank you Maker Faire NYC!

Here is a video recap from the 2013 event from Maker Faire NYC themselves:


Keep Calm
and
Make On

Wednesday, September 17, 2014

Challenge Time at Decorate To Celebrate - Halloween Centerpiece

MY STORY

     A friend of mine was looking for some ideas for a centerpiece for a grown up Halloween party -- something whimsical and her budget was $20.00.  So I looked into my bag of tricks to help her out and came up with a fun way to do a floral centerpiece.  Although this was done for Halloween, it can be adapted to any holiday or celebration.

YOUR TURN

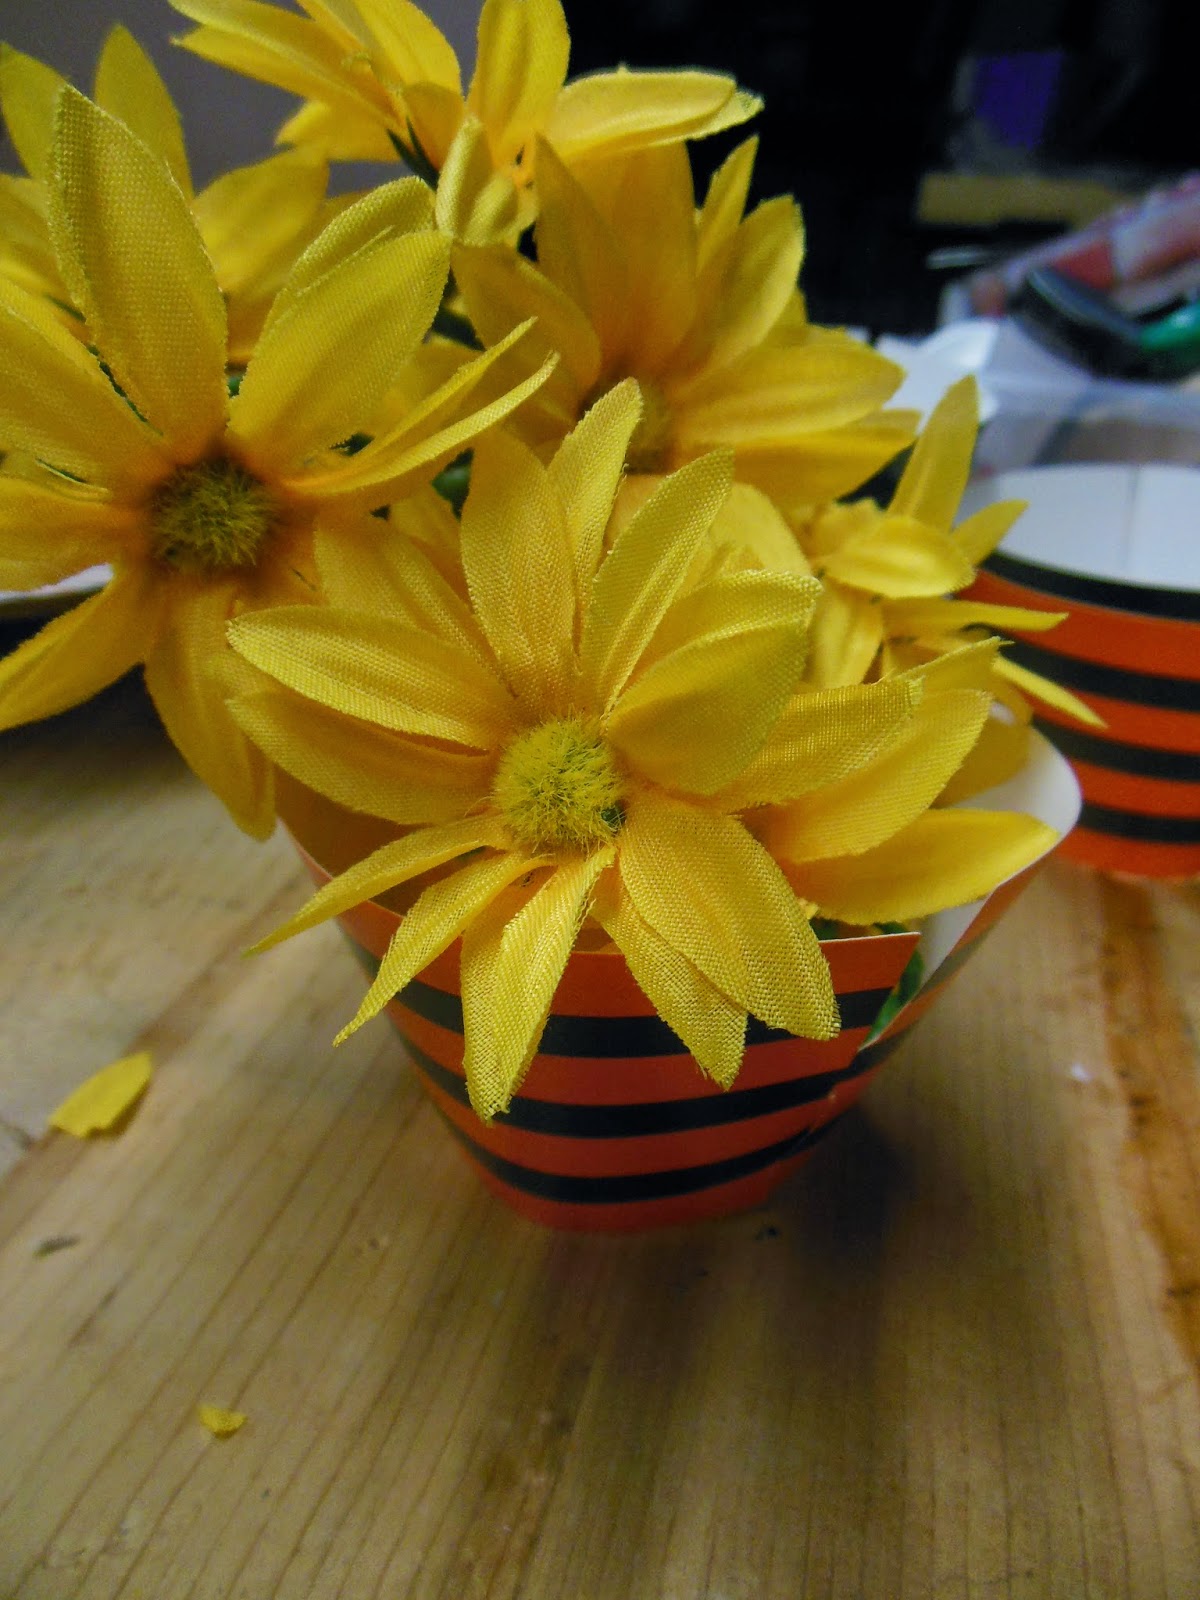
     I turned to one of my trusted resources, Oriental Trading Company and saw a paper, put it yourself together, cupcake stand.  Along with cupcakes holders and picks.  Most normal people would think of this for actual cupcakes, but since I am challenged in the cooking and baking arena, I thought these elements would make a perfect floral centerpiece.  So armed with these supplies and great silk flowers I got on sale at Michaels, here is how I was able to put this together.

     Assemble the cupcake stand as directed.  When I first saw the directions, it brought back some bad IKEA memories, but honestly it took maybe five minutes.


     Paint the exposed edges as desired.


     Turning to my stash of paper, I had pages left in a Martha Stewart paper pack called "Vintage Halloween" which was perfect.  If you don't have any paper, I recommend getting these paper packs - available at any craft or big box retailer.  They have taken away the chore of which papers complement each other and if you use them correctly, you can get tons of projects out of them.  And when there are sales, you can get some real deals.

     Cut out paper to fit the sizes of the "pies" on the middle and bottom layer.  Once you have determined your size, use that first piece as a template to cut out the other papers.  Same concept for along the back "walls" of your cupcake stand.  Continue until you have filled up your stand -- don't forget the top piece!


     Assemble the cupcake holders.  Start cutting apart your silk flowers.

     HINT:  I love the flowers that come on a plastic "chain".  They are easy to get apart and use for different projects.  You cut away just a bit for what you need and you are able to maintain the integrity of the rest of the garland.

     Place your cut flowers into the stands and place onto the cupcake stand.  Fill as desired.  Add picks for fun.  Once you have completed, trim away your edges.


     This project took very little time to put together and was light and easy to transport and set up at her home.  And just think -- changing out the color papers and flowers, this would be fun for a holiday table, engagement party, baby shower, etc.  Have fun with it....and I was able to meet her budget which is always creative to me.

     Happy Haunting!


Wednesday, September 3, 2014

Challenge Time at Decorate to Celebrate Design Team - Fall Part 1

MY STORY

     It just doesn't seem possible that the summer is winding down already.  But with back to school ads and Halloween candy in the supermarket, it must be true!  We have had great weather this summer in the Northeast, and our garden is bursting with herbs and vegetables.  I have decided to set up a little stand for my neighbors to come help themselves to our bounty and was also planning a dinner for some friends.

     I still am enamored of the rustic, chalkboard approach to decor so with items found in my local dollar store, I created items for a Fall table that I think are so easy and add a nice touch to a Fall party.  Even though the kids are moaning about Back To School, I'm must admit to a little excitement to feel the cool breeze of the next couple of months!

YOUR TURN

    Chalkboard items are still very popular in the home decor and crafting areas.  You can find supplies like these at any craft retailer, dollar store or another of my favorite resources Oriental Trading Company www.orientaltrading.com


    I love the new chalkboard markers out there as they create clean lettering, but old school chalk works just as well.

    Using the items as placecards is a fast and easy way to Fall up your table.  There are so many ways you can incorporate these ideas so head out to your local store and have fun crafting. I found little hay bales in the party store and they were great for adding some height and texture.