Showing posts with label Mod Podge. Show all posts

Wednesday, May 13, 2015

Sushi Bling with The Buckle Boutique

MY STORY

     I love sushi and since my husband is learning how to make sushi at home, I wanted to create an easy way to jazz up some chopsticks, etc.  In addition to their rhinestone sheets, THE BUCKLE BOUTIQUE also features glitter vinyl products as well as pins for chair sashes, etc.  I used this opportunity to create some pretty place settings for our next sushi extravaganza!!!  Check out BUCKLE BOUTIQUE website for items used in this project.

YOUR TURN

    The remaining supplies were from Pearl River Mart, an amazing store in NYC filled with three floors of asian inspired items.  Great pricing.  If you can't get to NYC, check out their website: PEARL RIVER MART website


    I picked up some simple chopsticks and just by adding a bit of bling, you can create some sparkly sushi utensils.  These would need to be hand washed.  I also recommend keeping your bling at the top of the chopsticks, not near the pointy end.  You need just a little bit of materials for these.  Here are a few different examples.  The sheets are easy to cut through and easy to apply.


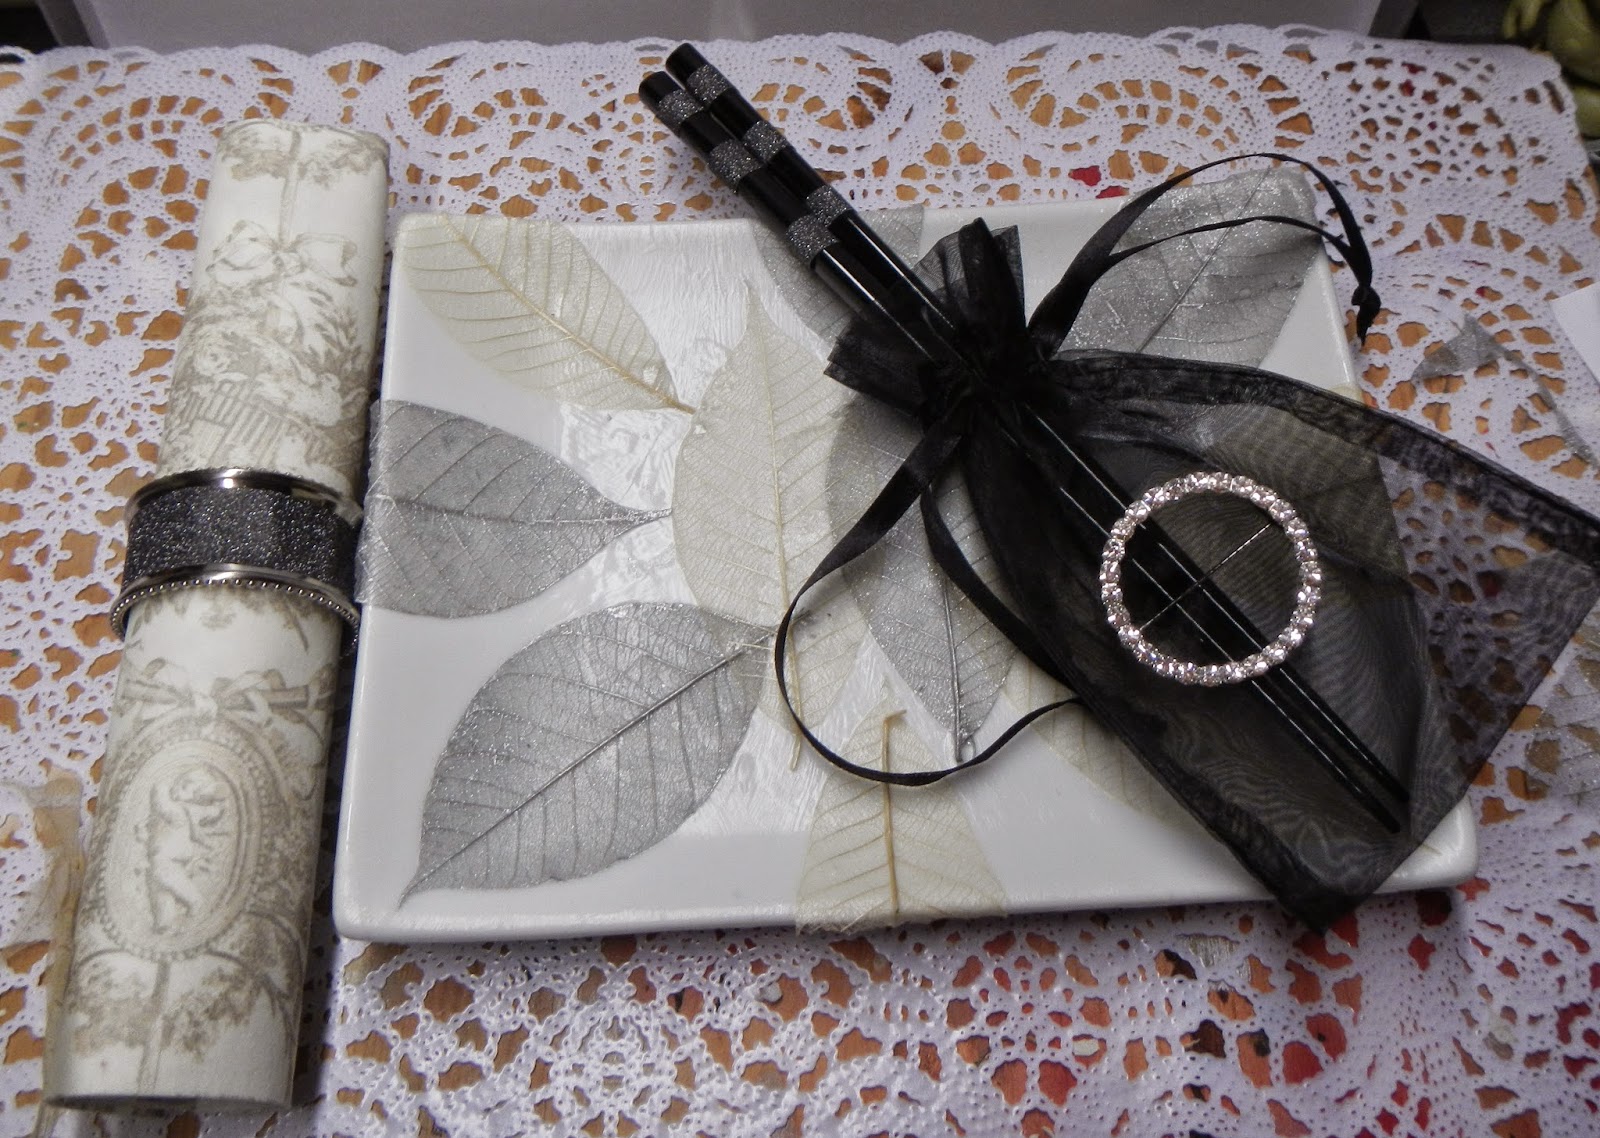
   As mentioned, THE BUCKLE BOUTIQUE also has pins that I decided to use as napkin rings.  I also added some of the glitter vinyl sheet to store bought napkin rings.  Whenever you want to decorate  napkin rings, look for a design that has a large base to work with.  These rings worked out perfectly. I also added the pin to a small organza gift bag as I thought they would make the chopsticks look even more special!


   The other item I found at Pearl River Mart were rubber tree leaves.  They were so pretty and 12 to a package for a very reasonable price.  Taking a simple and inexpensive plate, coat with a thin layer of Mod Podge.  Mod Podge is great because it asks as both a glue and a sealant.

   After you apply, gently place the leaves as desired.  I like to have some hanging off the edge to create a more unusual look.  These will be trimmed once your glue is dry.  Once the leaves are placed, gently add another coat of Mod Podge.  Let dry completely -- it will dry clear, don't worry.


     Once dry, add another thin layer and let dry.  If you are using for food, I recommend placing a piece of waxed paper underneath the food just to insure food safety.  But Mod Podge works great and you can hand wash.

    And that's it, just by changing out the color of the chopsticks or napkins, you can create many different looks.


  Have fun!!


RhinestoneBorder
Follow The Buckle Boutique at our Blog  //  Facebook  //  Twitter  //  Pinterest
Shop The Buckle Boutique at our Main Store and Etsy
Tips and videos for cutting our rhinestone sticker sheets can be found HERE
Are you a retailer who would like to carry The Buckle Boutique's products in your store?
Please contact us for wholesale pricing information.

Wednesday, April 30, 2014

Decorate To Celebrate Challenge Mom's Day....Mosaic Frame

MY STORY

     One of the most exciting and terrifying parts of being a Mom is watching your children grow up.  It seems like only yesterday my son was starting kindergarten and now he is a Lance Corporal with the US Marine Corps stationed overseas.

     On one of my "I better clean up this house" days, I found the boots he wore during his 3 months at Boot Camp as well as little tiny boots he wore as a baby.  Boots....Boot Camp....photo op!  I took this photo as I think  it is a very graphic reminder of how time has flown by.


     I wanted to create a special frame for this so here are my steps in making a mosaic frame for, OK I admit it, myself as well as all the Grandmas, Aunts, Sisters....all the wonderful women in my life that have helped and guided me in this journey.

YOUR TURN

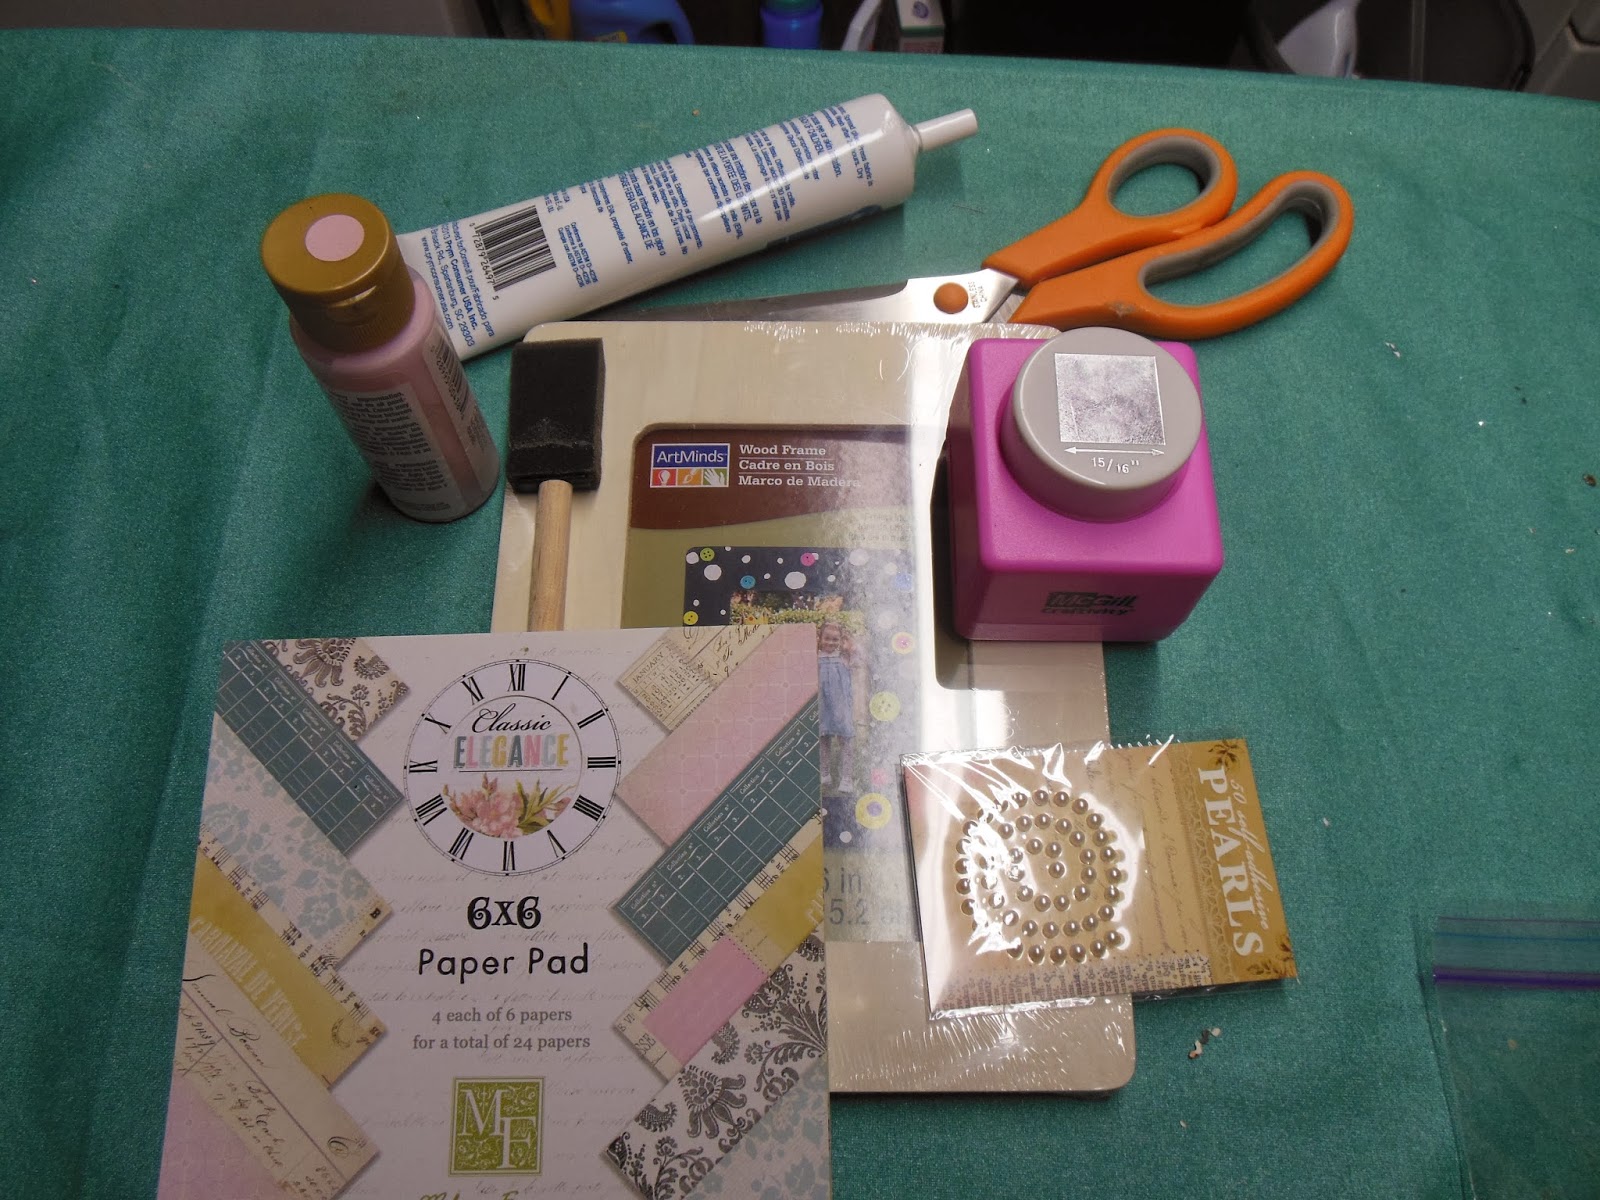
     Here is what you need to get started.  HINT:  The paper packs in the craft stores take a lot of the guesswork out of coordinating your papers.  I was going for a shabby chic look for my frame.


     1.  Paint your frame in a color that is complementary with your papers.  I only used one coat but you can add as many as you want to get the depth of color you desire.  HINT:  Don't forget to paint the sides and inside the photo part of your frame.  I keep the paper insert in place so I can be sloppy with my paint  on the inside of the frame.


     2.  Using the decorative punch, start punching out your papers.  NOTE:  I tend to like odd numbers of papers as opposed to even.  No particular reason why I just think it adds more interest.  HINT:  Don't throw  away the paper once you have punched it out.  The papers with the squares cut out can be used for future projects.


Paper left over for another crafty idea!

    3.  Decide on the pattern of colors and stick with it.  I went blue,pink, black and maintained that throughout the frame.  HINT:  To start off evenly, I placed the straight edge of the paper to use as a ruler.

    4.  Continue gluing your squares down.  Let the edges go past the edge of the frame.   It shows more interest when completed.  But don't cut them off yet.

Notice the squares are coming off the sides and bottom

    5.  Optional step:  Cover your frame with a couple  of coats of Mod Podge.  You don't have to, but it is a further sealant to keep your papers on the frame and adds some sheen to your finished piece.  For this example, I used the Antique Matte finish in keeping with my shabby chic idea.  But it comes in so many finishes, it is totally up to you.  HINT:  When you apply it, you will think "oh no, I have ruined it".  Not to worry, they all dry clear.


   6.  When the Mod Podge has dried trim off the edges.  Add pearl stickers or any other embellishments.  The mosaic looks great whether you choose to use the frame in a  horizontal or vertical format.


     This concept is so fun and easy to do, you will get hooked.  And think of all the beautiful papers out there -- holiday, baby, sophisticated.  You can create so many looks just by changing up the color of your paint and papers.

Enjoy and happy Mother's Day to all the beautiful women out there.  As they say, it takes a village to raise a child.