
I'm always saving containers in the hope of "rescuing" them. Finally, a project came up and I thought these containers would be perfect.
My friend's daughter was getting a room makeover because, as she said, "I'm a big girl now". They decided on a paint scheme -- blue and brown. I also knew that her daughter was starting to take classes in sewing, knitting and crocheting and was enjoying her classes. I decided to take some containers, try to upcycle them with just some paint, glue, etc. and turn them into fun little containers to start storing her supplies.....because you know if you are a crafter, getting those supplies are part of the art!
YOUR TURN
The items I decided to use for this project were:
- A metal cookie tin
- A large plastic sugar container (we did ALOT of baking over the holidays)
- An unfinished wood box
- Acrylic paint, Mod Podge, Tissue Paper
I included a baby wipes container as another option but did not use it for this example.


COOKIE TIN:
In keeping with the brown and blue colors, I coated the tin with 2 coats of burnt umber acrylic paint. You may need more depending on your surface.


I wanted to try to achieve a vintage look which my friend's daughter is a big fan of. I collect old sewing patterns and using the tissue paper patterns, I ripped them and applied several different coats with Mod Podge. Let each coat dry before applying the next one. You don't necessarily need to see the words, etc on the patterns but I liked the aged appearance it gave the tin. When you are completed, add a final coat of Mod Podge to seal.


This container makes a great holder for crochet and knitting hooks.
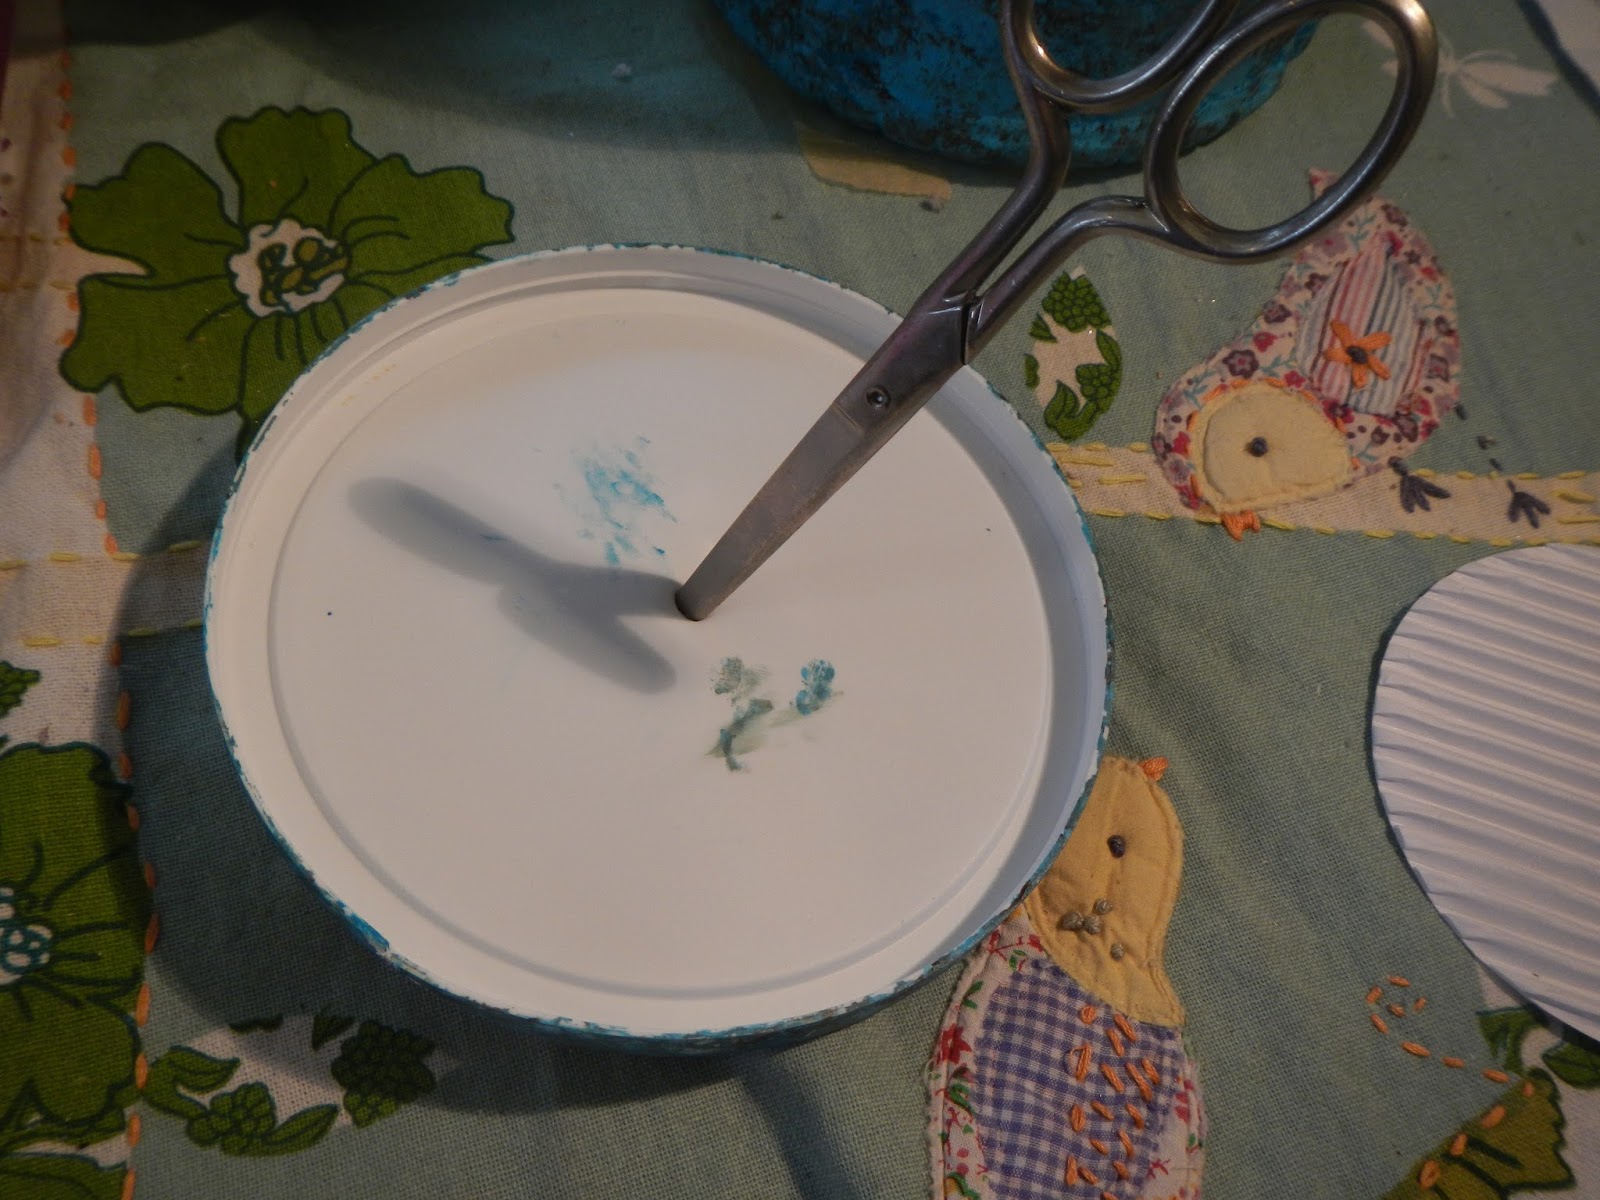
SUGAR CONTAINER:
Coat the container in a dark blue (or whatever color you choose) acrylic paint. You will probably need at least two coats to cover. Once dry, sponge paint a lighter blue and then your brown acrylic -- creating an almost splattered enamel look to the plastic. Same for the lid.
Cut a small hole in the top and this would be a great container for yarn as you can feed it through the hole while you are working on your project.


WOOD BOX:
Cover the box with a couple of coats of the burnt umber paint -- I love the effect this paint gives. It takes a plain old box and makes it look much richer!


I added some of the blue paint from the sugar container on to the legs and front edge of the box to tie it in color-wise so all the bits of this project looks good together.

Add a peel and stick magnetic sheet to the inside front lid and it is a great place to keep pins. I added some vintage items from my Grandmother's sewing basket as part of the gift -- a thimble, buttons etc.


With just some paint, glue and paper you can upcycle any container. Have fun!

