Wednesday, August 19, 2015

Embellished Cigar Box

MY STORY

     I have been collecting cigar boxes for a while.  I love the look, the history, the smell of these boxes.  Some have beautiful designs on them and some are more plain.  I decided to bling up one of the boxes with the great product from The Buckle Boutique.  Check out their website for great prices on product that you can use in so many different ways:  The Buckle Boutique website
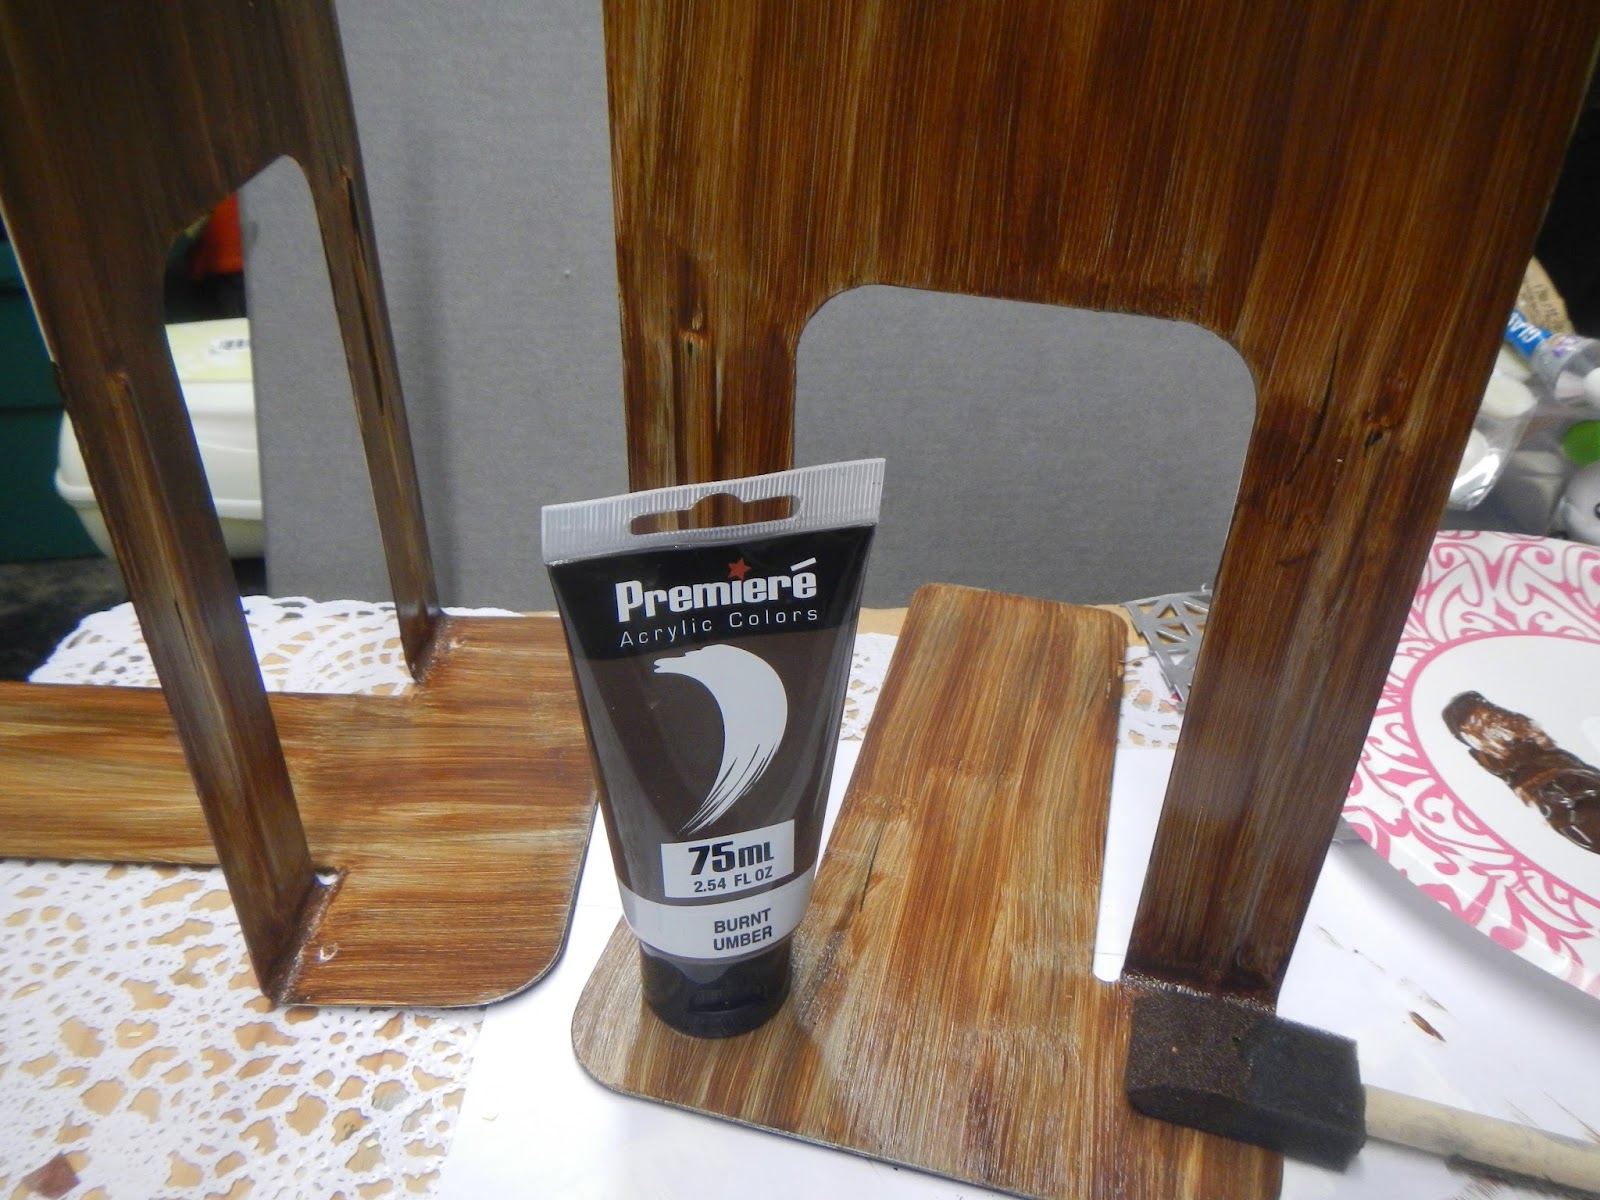
YOUR TURN

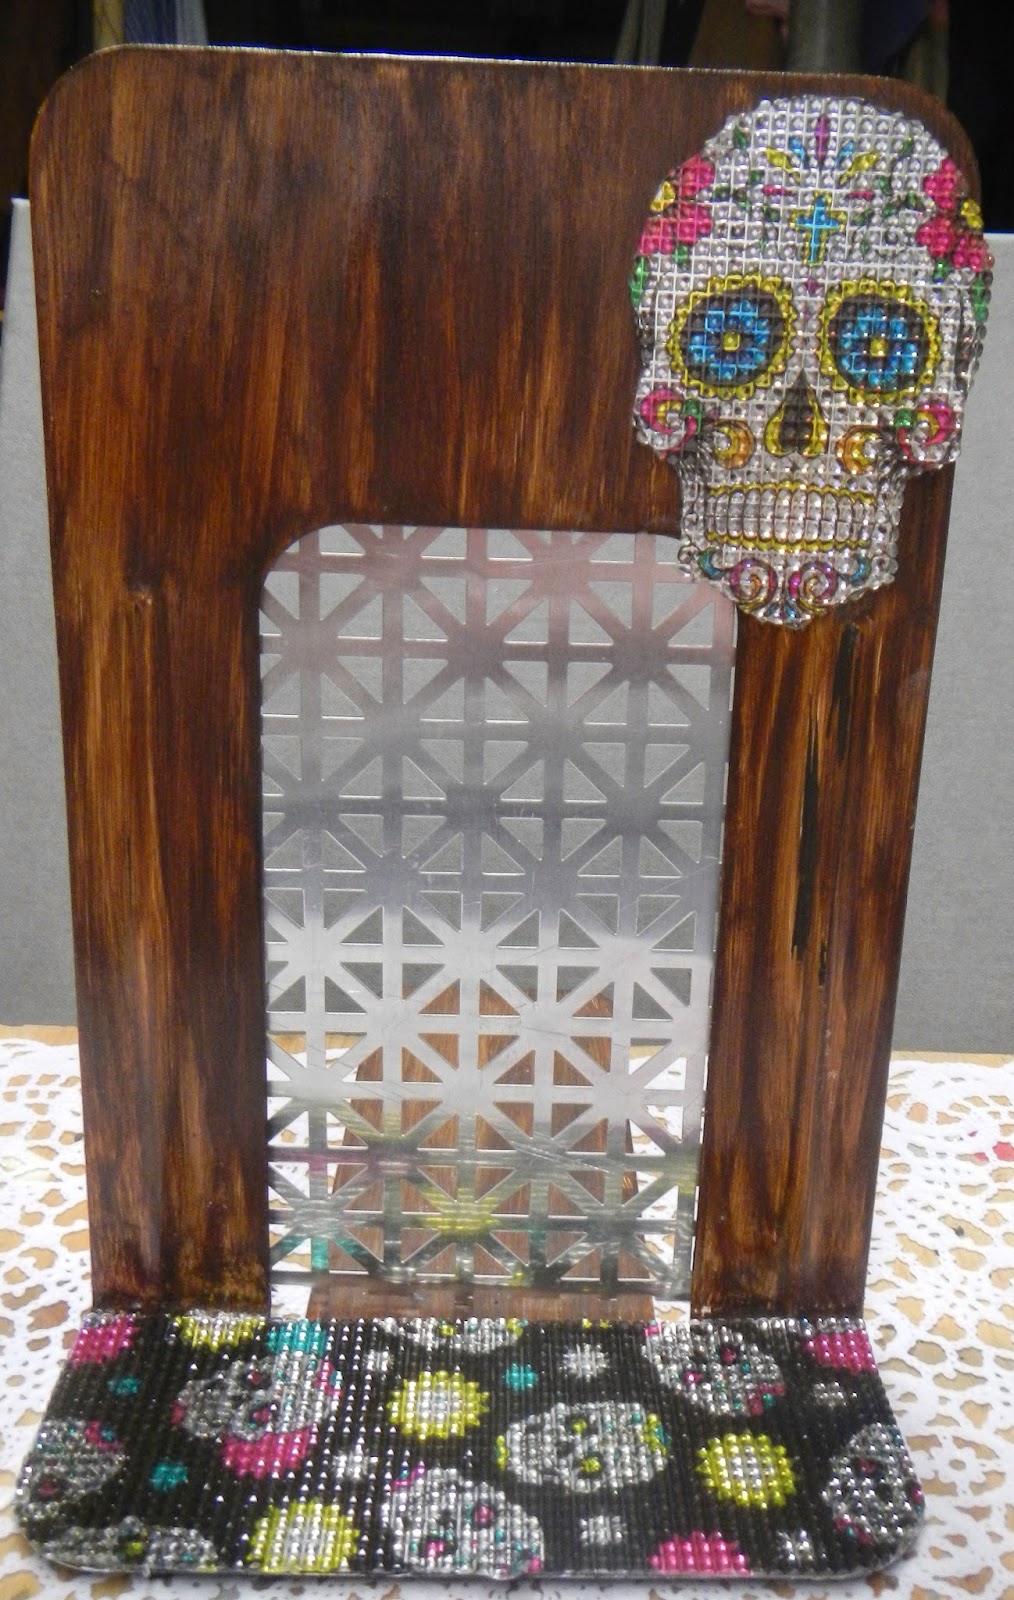
     The Sugar Skulls rhinestone sheet from The Buckle Boutique made a nice complement to the cigar box.


     I like this sheet because it has the sugar skulls theme in different formats so it is easy to use the coordinating pieces.

    Simply measure and trim out part of the sheet for the bottom of the box.

    I then cut out a couple of the individual skulls and some extra strips for the front.

    The largest skull fit perfectly on the inside lid.

    And that is all there is to adding some bling and embellishments to items you may have the house.  And I love the way it came out so I'm using it to store my bling for my next project!

    Happy crafting!


RhinestoneBorder
Follow The Buckle Boutique at our Blog  //  Facebook  //  Twitter  //  Pinterest
Shop The Buckle Boutique at our Main Store and Etsy
Tips and videos for cutting our rhinestone sticker sheets can be found HERE
Are you a retailer who would like to carry The Buckle Boutique's products in your store?
Please contact us for wholesale pricing information.

Gilding Your Party

MY STORY

     It's Decorate To Celebrate Design Challenge time again!

     I love my collection of various bottles and jars and wanted to try out gilding products from Martha Stewart's line of craft items, produced by Plaid, at Michaels.  It was fun and easy to add a metallic touch to items -- here you go.

YOUR TURN

    What you will need:


  • Plastic / glass containers - clean and dry

  • Gilding products:  adhesive, brushes, foil sheets
  • Scissors
  • Foam Brush
  • Painters Tape
    Make sure your items are clean and dry.  The steps are the same regardless of how much of the foil sheet you are using.

STEPS:

  1. Brush a thin coat of adhesive over your item
  2. Let dry until tacky -- the glue will turn clear
  3. Carefully (this stuff is really thin) remove a sheet or piece of the foil sheet keeping the paper on behind it.
  4. Apply over the area you have covered with glue.
  5. Press into place with your fingers or brush into place with a gilding brush
  6. Let sit for a minute and then carefully remove the foil sheet.
  7. Depending on how you have applied the glue, you may have holes in the metallic, the glue is still tacky at this point, so you can use scraps to fill in the holes.
  8. Once dry, gently brush off excess foiling with a foam brush.  NOTE:  Do this over a garbage pail otherwise you will have bits of foil everywhere for days!  
Here are some of the items I tried:

Small mason jar:  I wanted to create a striped effect instead of solid.  Apply painter's tape where you don't want the foil to appear.  NOTE:  This step is done before you apply the gilding adhesive. Also, leave tails on the tape so it is easy to remove. 

 In my first attempt, I did not allow the glue to set up enough so the coverage was disappointing.  No problem, I just went over it again with another color.  I then added a strip of washi tape in the middle for some interest.


Medium mason jar:  For this jar, I wanted a solid effect and used the silver foil.


Milk bottle:  I was curious to see if the foil would remain on the raised lettering of the milk bottle.  I wanted this one to look a little more beat up.


Plastic champagne glass:  You won't be able to drink out of this glass, but I think it is such a pretty look for a display.  This application could also be used on bowls to make your table sparkle.


There are more examples and tutorials on YouTube which will give you some more great ideas.  Have fun playing -- you get a lot of sheets in one package!


Saturday, August 8, 2015

Love Wins Blog Hop with The Buckle Boutique

MY STORY

     The Buckle Boutique offers so many beautiful colors and patterns in their rhinestone sticker sheet product mix.  And in honor of the recent ruling for Marriage Equality, it seems a perfect time for all of us on the design team to celebrate Love Wins with the rainbow sticker sheets! Here's a link to get your sticker sheets so you can celebrate Love Wins too!  Rainbow Sticker Sheets link

     Here are some easy projects I created using the rainbow sheets.

YOUR TURN

    The sticker sheets are so easy to cut with a good pair of scissors (I have yet to jump on the cutting machine trend yet) and even using small pieces you can add a touch of bling to almost any surface.


INVITATIONS:

     I found a pack of pretty stationery at my dollar store from Gartner Studios.  Their website has tons of templates and it was really easy to use.  Just create your invitation wording and print.  I then added some of the rainbow sticker sheets as a fun colorful accent.


RUSTIC LETTERS:

   I am still on the rustic letters / marquee letter bandwagon and I had took one of my existing letters and applied the rhinestone sticker sheet.  Just lay out your letter right side down on the back of the sheet, trace and cut.  Just peel off the packing and that is that!  Might be fun to use at the main table of your wedding.


CHAMPAGNE GLASSES:

   Using plastic glasses from the dollar store, I simply applied to the stem, again for just a touch of the Marriage Equality motif.  This would work as well on real glasses.  And if you are good at cutting, you can cut out initials of the couple for an added touch of personalization.


VOTIVE CANDLEHOLDERS:

   Fun to use at your tables, again just add a touch of bling so your candle light will really glow!


VASE:

   Again, another dollar store find but this concept will work on glass as well.


All these items really coordinate well together.  And remember, "Love Wins" every time!


Check out the fabulous work from the other design team members of The Buckle Boutique and head over to their blogs and show some Love!

>Love Wins Blog Hop Line Up
  The Buckle Boutique
  Nancy
  Tammy
  Madge
  Shawn

RhinestoneBorder
Follow The Buckle Boutique at our Blog  //  Facebook  //  Twitter  //  Pinterest
Shop The Buckle Boutique at our Main Store and Etsy
Tips and videos for cutting our rhinestone sticker sheets can be found HERE
Are you a retailer who would like to carry The Buckle Boutique's products in your store?
Please contact us for wholesale pricing information.

Wednesday, August 5, 2015

Upcyled Bookends with The Buckle Boutique

MY STORY

     Although I love my e-reader, I am still a fan of my books -- especially my crafting books.  In the midst of spring cleaning I was able to make room to arrange my books.  Instead of going out shopping, I looked around the house and found these old metal bookends.

    Well, they were just not cute enough, so with the products from THE BUCKLE BOUTIQUE here  is how I jazzed them up.

YOUR TURN

     I love radiator screen -- there are so many uses for it and you can get a lot of projects out of one, affordable, sheet.  Trace the opening of your bookend onto the metal screen and cut out.  NOTE:  This is NOT a project for the kids.  The ends are sharp -- use gloves, eye protector and cut over a garbage can.  I used regular scissors but wire snips would probably work better.


    Paint a base color to cover the black metal -- I used two coats of white acrylic.  Metal paint might work out better, but I liked the end result.

   Once the base color dries, paint two coats of Burnt Umber acrylic paint.  Use a foam brush because it leaves brush marks that mimic wood.  Again, any color would work based on your desired result.

    I love sugar skulls, and The Buckle Boutique has great sheets designed by Marisa Pawelko.  Cut out a medium size skull -- they cut like butter!.  Peel off the backing and place as desired.

   Measure out your base and cut and apply a strip of the smaller skulls.

    Take your cut out radiator screen and glue along the back of the bookend opening.  The ends could be ragged so cover them, on the back, with masking or Washi tape.  And when the light is just right, the sparkles of the rhinestones reflect on to the screen.


   And that's it, I think these new bookends are adorable.


   Another way to use these upcycled bookends would be for an earring/jewelry display.  How cute would this look in your tween's room???


    Happy crafting!!


RhinestoneBorder
Follow The Buckle Boutique at our Blog  //  Facebook  //  Twitter  //  Pinterest
Shop The Buckle Boutique at our Main Store and Etsy
Tips and videos for cutting our rhinestone sticker sheets can be found HERE
Are you a retailer who would like to carry The Buckle Boutique's products in your store?
Please contact us for wholesale pricing information.