Wednesday, April 15, 2015

Party Mugs at Decorate To Celebrate

MY STORY

      It's challenge time at Decorate To Celebrate!  Check out their page for great ideas for your party and gift giving projects.  DECORATE TO CELEBRATE Blog.

    I was asked again to come up with a fun party idea for a friend's daughter who is too old for a FROZEN party.  I came up with some ideas on decorating mugs which I thought was easy for any age to do and just by changing up some of the elements, there are many ways to dress up basic dollar store mugs.  NOTE:  These examples are using the Sharpie brand permanent markers.  They can only be washed by hand.  For mugs that can be put into the dishwasher, use ceramic paint or oil based paint and bake in an oven for permanence.  There are many YouTube videos or google info on these paints for the best results.

YOUR TURN

   Keep your eye out for sales at any retailer that sells plain mugs.  I found these at my reliable neighborhood dollar store.  Before applying any ink, wash the mugs and then wipe with rubbing alcohol.  I got rubbing alcohol wipes at the drugstore and they are perfect.

   For this first example, pick two shades  of pen and stickers.  I like these chunky stickers I bought at Michaels.  You can choose whatever stickers you like, but these work well because they sit above the surface.


   Place your stickers as desired and then simply create dots around the letters with your Sharpie.  Concentrate the most dots by the sticker edges and lessen as you go out.  Remove the stickers and you have your first, party monogrammed mug.


   Using the same concept, I was playing around with a different color and stickers and thought this would make a cute mug to keep out for Santa on Christmas Eve.

   I am getting obsessed with gilding.  Martha Stewart has a line of products at Michaels that make it so easy to use this gold leafing process on many surfaces -- more on this application in future blogs!

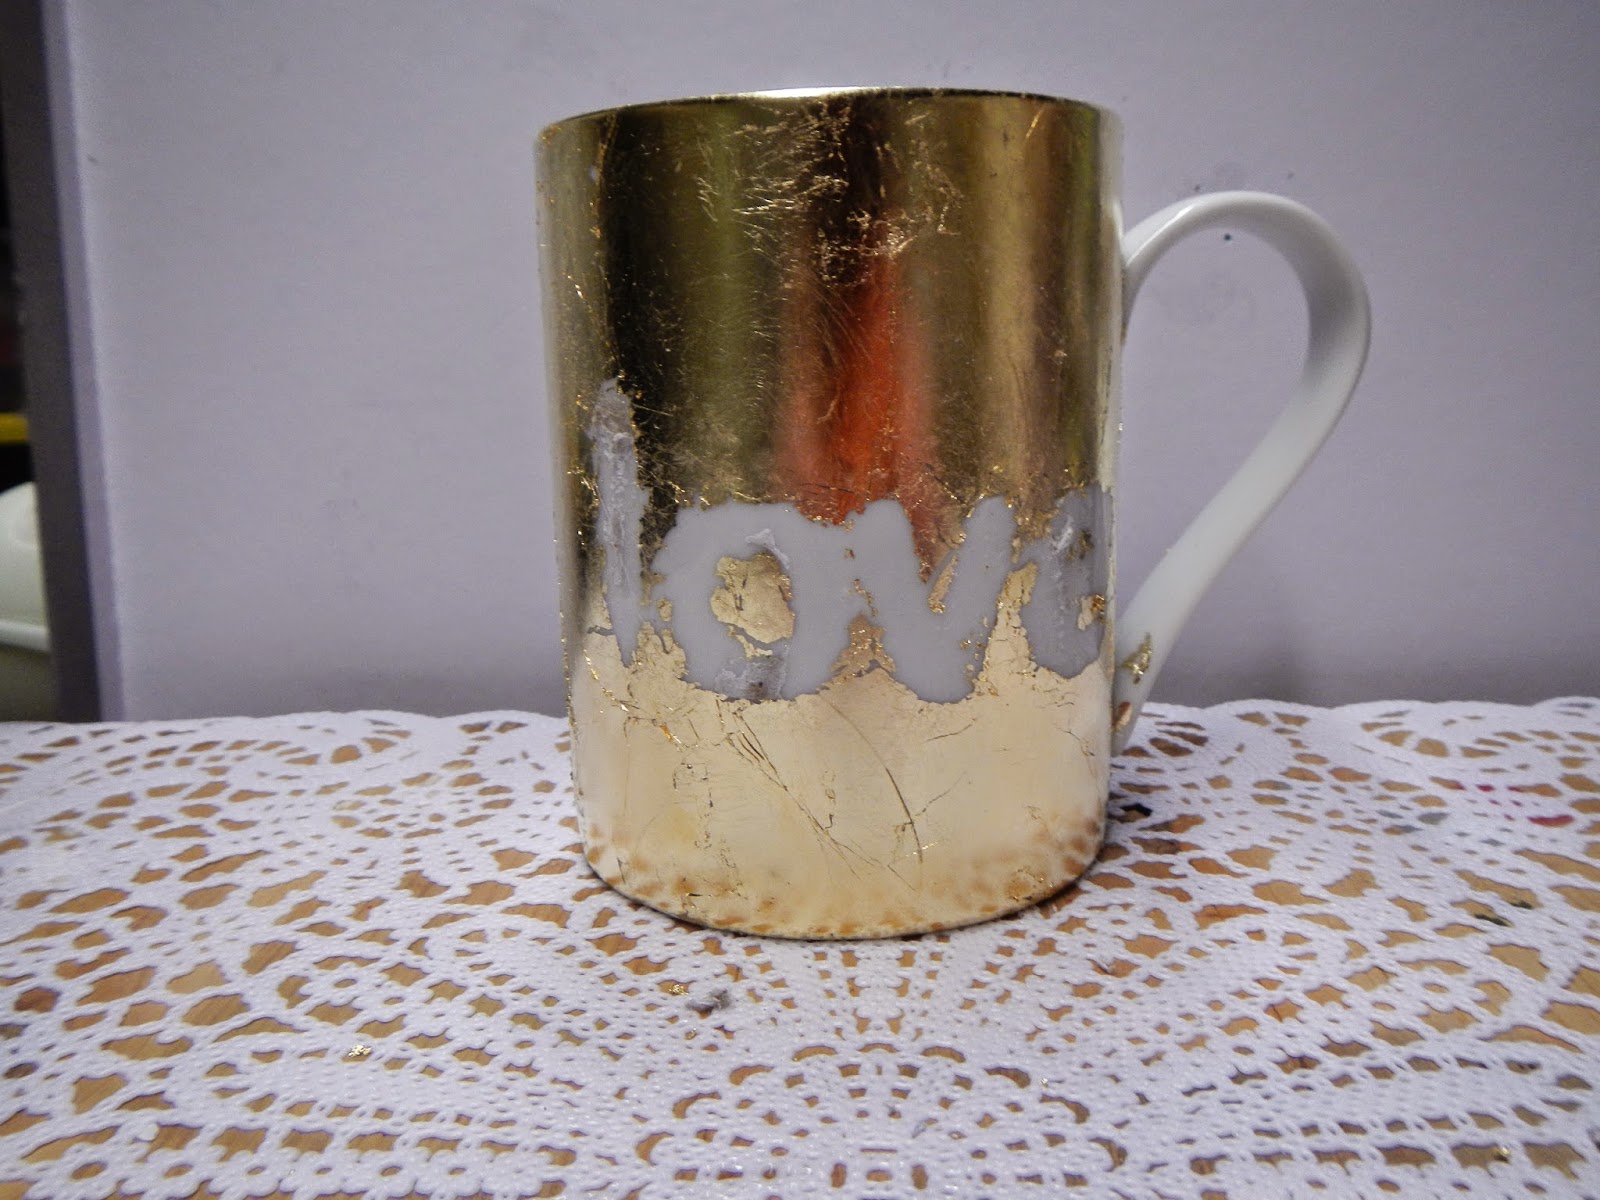
   For this example, place your stickers as desired.  I used "l o v e" as I thought, if this worked out well, it might be a fun use for a wedding shower, wedding party, etc.


   Apply a thin layer of gilding adhesive on the surface, including the stickers.  Let sit for 1/2 hour or so.  The adhesive will be clear but sticky.

   Remove a gold leaf sheet from the package and place gently over your mug.  Rub it into the surface with your fingers.  Depending on the surface, you may need more than one sheet.  Let dry and then rub with a brush and the tiny bits that didn't stick will fall off.  HINT:  Do this over a garbage pan.  I learned the hard way, trust me!


  You can leave as is

  Or remove the letters for a different look.  Might look nice on a table to do a combination of these effects.
   I also tried just gold leafing the letters, using the same steps as above.  I liked the way this looked too.  And then I combined with the dots process in black ink and I loved this color combination.


  And then I removed the letters again for another different look.

  There are so many combinations and ways to experiment.  You can do this for baby showers, any holiday and they can be either whimsical or dramatic.  It all comes down to your ink color, type of stickers, etc.  Have fun crafting!!


Wednesday, April 1, 2015

Easter Egg Bling

MY STORY

     I love when I can combine my Decorate To Celebrate challenges with being a design team member for the Buckle Boutique.  Both of these sites have creative inspiration with products and projects DECORATE TO CELEBRATE The Buckle Boutique.  And now The Buckle Boutique has reduced the prices for their rhinestone sheets so it is the best time to check them out.

    I decided to bling up some Easter eggs for a fun centerpiece.  Would also make a fun gift to bring to your Easter dinner hostess.

YOUR TURN

   Since I like to work ahead, I found these great eggs at Michaels.  They are dyeable and I was thrilled to find them.  You will also need some coordinating napkins/guest towels (mine were from Bed Bath & Beyond), rhinestone sticker sheets from THE BUCKLE BOUTIQUE, Mod Podge, foam brush, a basket, paper filler, twine, flowers.  My color palette was determined by the napkins I found so use whatever colors work best for you.


    Some different ideas to bling up your eggs:

A)  Cut your napkin into thin strips.  Apply Modge Podge to your egg -- be careful.  Use a thin layer and work slowly.  Once the napkin is wet, it could rip while applying.  Cover the egg as desired.  Once dry, apply Mod Podge over the total egg and let dry again.  Then add strips of coordinating rhinestones.  You can also add a larger piece of the rhinestones down the middle and place some of the napkin on either side.


B)  These examples used just the sticker sheets.  I cut up in random shapes and applied.  The rhinestone sticker sheets from THE BUCKLE BOUTIQUE are so easy to work with.  They adhere to anything and are easy to cut.  And even using the smallest,thinnest pieces they are still easy to peel the backing away.


C)  I like creating some eggs with 3D elements.  The first one I call the nest egg.  Wrap the twine around the egg, leaving an oval opening.  Cut out a bird from one of the napkin designs and apply.  Don't glue the entire piece down so it sticks up above the egg.  Add a little bling to the tail.

     The other 3D egg is what I refer to as the Koi egg.  Once I started working with this particular napkin, it felt Asian to me.  Cut out strips of the napkin, leaving a long tail that go past the bottom of the egg.  Once dry, apply another coat of Mod Podge over the entire egg -- but do not apply any to the "tails".  Apply strips of rhinestones to the tails and add a blingy eye.


D)  You can also use bits of the napkin to create a design and add some rhinestones to add bling and dimension.

   For the basket, fill with paper.  I added a little bling to a burlap flower and applied.


  And that's it.  A fun presentation for your Easter dinner table.  This concept can also be used for the holidays -- there are tons of blank ornaments out there so you are only limited by your imagination!


RhinestoneBorder
Follow The Buckle Boutique at our Blog  //  Facebook  //  Twitter  //  Pinterest
Shop The Buckle Boutique at our Main Store and Etsy
Tips and videos for cutting our rhinestone sticker sheets can be found HERE
Are you a retailer who would like to carry The Buckle Boutique's products in your store?
Please contact us for wholesale pricing information.

Saturday, March 28, 2015

Springtime In Paris Michaels Contest

MY STORY

    I wanted to share my entry for the current Springtime in Paris contest at Michaels.

    I created a hostess gift set incorporating the Springtime in Paris motif onto a wine bottle holder, stationery, coasters, napkin rings, a tablecloth and a frame.

   Fingers Crossed!


YOUR TURN

   You still have time to enter as well.  Contest ends this Tuesday, March 31 so there is still time to get your creative mojo in gear!

   You can find the information at this website:  Contest Website.  Grand prize winner receives a trip for two to beautiful Paris!  Go over to Twitter and search #SpringtimeinParis #Contest and look at the beautiful entries.


Wednesday, March 18, 2015

Bling Up Accessories with The Buckle Boutique

MY STORY

     I am so excited to be part of the design team for The Buckle Boutique.  Their rhinestone sticker sheets make it so easy to add some bling and glam to anything!   Check out their website for great product The Buckle Boutique Website.  There is also tons of inspiration on their facebook page, check it out and bling it out! The Buckle Boutique Facebook page.

   For today's blog, I took some plain jewelry items and was easily able to add some bling.  I found these items at Michaels and a great jewelry store in NYC High Design Jewelry.  You can use these ideas for any jewelry you  have -- fun and easy let's go!

YOUR TURN

   Here are the pieces I worked with for this project.  I also wanted an animal print theme for this project and The Buckle Boutique does not disappoint with their selection:


   For the ring, I simply traced the open top onto the back of a rhinestone sheet. Peel off the backing and that's it!   Using a different sheet, I was able to add some bling around the ring itself.  And that's it!


   Bangles will never go out of style and why wear plain when you can wear bling!  Just trace out a piece and apply to the bangles.


   I love these plastic bracelets I found at High Design Jewelry.  Using one of the sections, create a template and then trace that template onto different sticker sheets.  I like laying out the pieces before I apply to insure I like the pattern/colors in a specific order.  And although these rhinestones stick really well, they are also easy to reposition so you have some time to play around with your design.


  And that is just as easy as it is to Bling Up Your Accessories!   #itsallaboutthebling


RhinestoneBorder
Follow The Buckle Boutique at our Blog  //  Facebook  //  Twitter  //  Pinterest
Shop The Buckle Boutique at our Main Store and Etsy
Tips and videos for cutting our rhinestone sticker sheets can be found HERE
Are you a retailer who would like to carry The Buckle Boutique's products in your store?
Please contact us for wholesale pricing information.

Hoop Art - Decorate To Celebrate Design Team Project

MY STORY

     Lately, I have been obsessed with hoop art ideas.  From Pinterest posts and current magazines, hoop art seems to be a big trend.  I have been doing embroidery since I was a young girl.  In helping some friends decorate nurseries, I wanted to incorporate some hoop art for their rooms.

    A recent article in Martha Stewart Living called "Tactile Textiles" inspired me to pump up some baby fabric I had.  Here is the article for you to get your own ideas:  ARTICLE

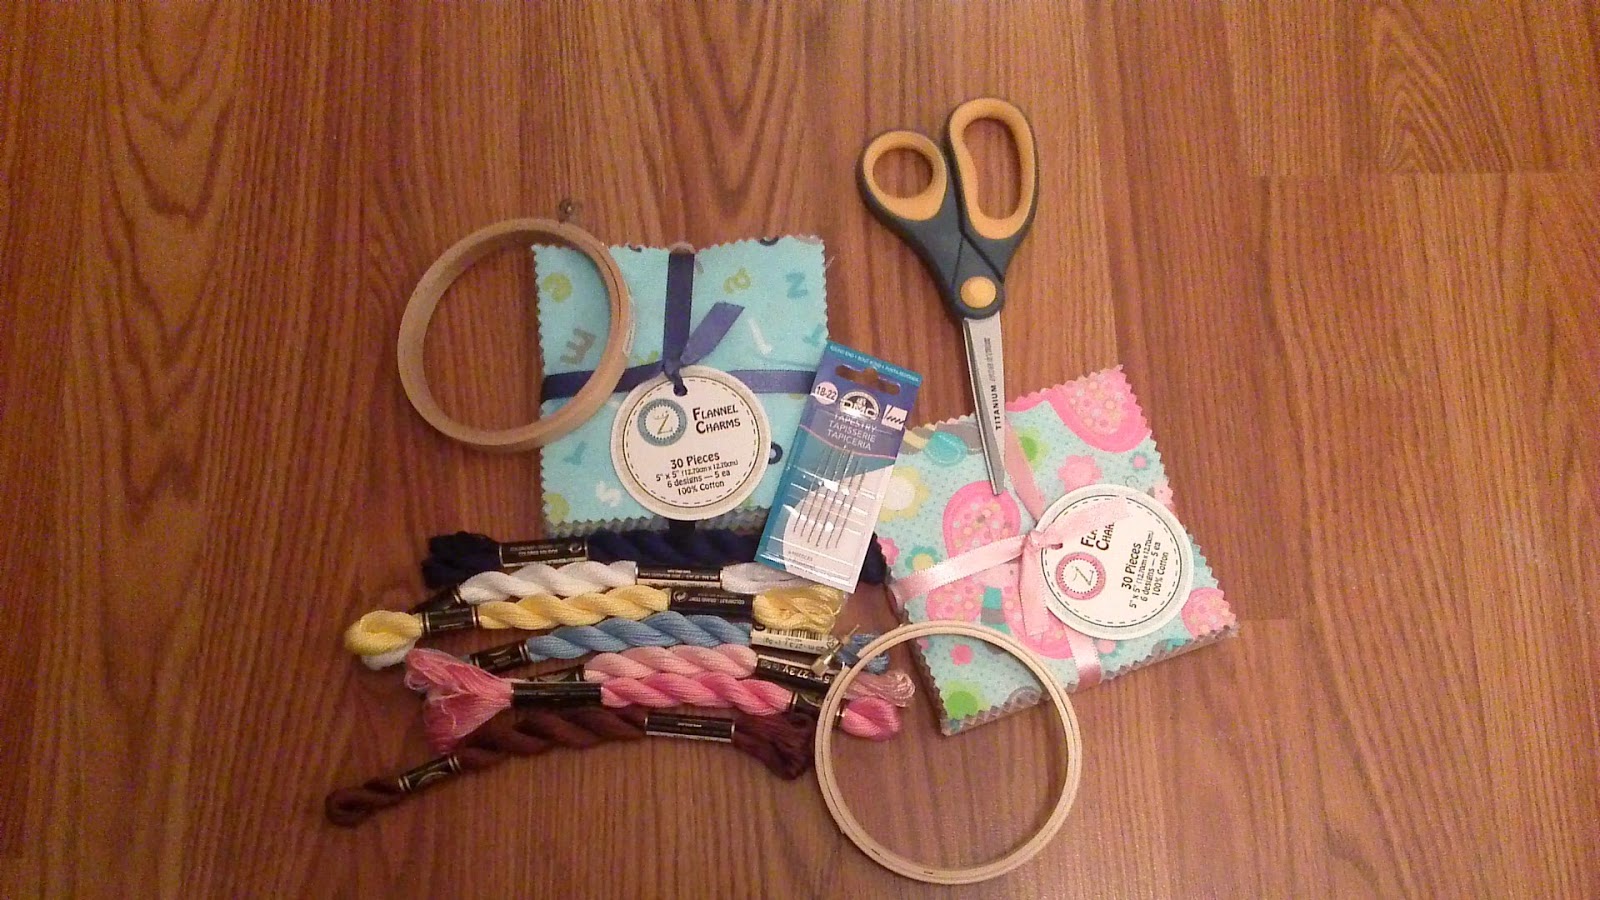
    My local Joann's Fabric store had great 'fat quarters' of flannel baby fabric.  What I love about these packs is that they have already color coordinated the fabrics for you.  Just pick up some DMC embroidery floss, a couple of hoops, needles and you are good to go.


YOUR TURN

     Place the fabric within the hoops and tighten the screws so the fabric is taut.

    Using some basic embroidery stitches like chain stitch, satin stitch and french knots enhance your fabric as desired.  There is no right or wrong, it all depends on the effect you would like to achieve.


    I loved this polka dot fabric and added some satin stitches and cross stitches.  It looks like a game of jacks or hugs & kisses.


   And let's not forget the little boys:


   I like the ease of using store bought items and adding a simple, personal touch to your gifts.  You can use these as wall art, greeting cards, gift tags, etc.  The options are endless and a little bit of supplies go a long way.  You can even trace a monogram on the fabric for a really customized look.

  Look for more hoop ideas in the future!

  Some of the stitches I used:


   A great resource for embroidery ideas/tutorials is malamare.net.

   Happy Stitching!