Showing posts with label monoprinting. Show all posts

Monday, June 5, 2017

Playing With Gelli Pt 1

MY STORY

     I love adding new tools to my crafting arsenal and the gelatin printing plate from Gelli Arts is so addictive, I highly recommend it!  I've summarized some different techniques below and you can see that the possibilities are endless.  Stay tuned for the next blog to give you some ideas of how to create with the papers you have made.

YOUR TURN

Supplies used in these examples:


  • Gelatin printing plates -- available in different sizes.  For a full list of products, how-to videos visit the Gelli Arts website CLICK HERE
  • Various Acrylic paints -- colors up to you.  I like the line of Artists Loft paints found at Michaels
  • Blank Canvas
  • Plain paper ; vellum paper; watercolor paper -- they all have different effects
  • Deli paper - 


     The deli paper is great for cleanups -- both from your brayer and if you want to remove some paint from your plate.  I found mine on Amazon -- 500 sheets for a very low cost.

  • Paint brayers
  • Rubber Stamps
  • Stencils
  • Household items -- I used charms I have -- anything that will leave a texture on the plate
  • Sea sponge & texturizing tool


STUDIO HINT:  This can get messy.  You will need some room -- I have found it easiest to use the deli paper or waxed paper under your surface.  Keep baby wipes handy.  Also, you use very little paint on the plate.  When I first started I was putting way too much paint on.  It goes a long way.  When doing a printing "session" I keep using the same color palette so I don't have to constantly keep cleaning up.  And some paint always remains so you get some interesting results.  Once I finish, I keep my papers in files, sorted by color story, to make it easier when I want to use them.  Now, let's go....

WASHI TAPE:

     Washi tape is easily found and affordable.  It comes in all sorts of widths and colors -- the colors don't matter, you are only using them for the pattern -- they will leave a white spot on your print.


Studio Hint: When applying the tape, leave "tails" of the edges of the plate.  Will make it so much easier to remove when you are done.


STENCILS:

   Stencils are a great way to achieve texture.  They embed into the paint and the plate so when you lift off the paper you can get some great imagery.  And remember, each print is unique.


     I also applied a wash of just one color -- you still pick up some of the color which remains on the plate.  Press your paper down with the stencil on top of the plate.  Then remove the stencil and press another piece down.  You then get the negative effect -- which could be a cool look when used together in a future project.


CHARMS

     Any items you have around the house or in your stash can be used to create interesting images.  They will have to be fairly flat but here is what happens with gear charms and washers from the hardware store.  Also sometimes are use parts of the paper that I have already used.  With a similar color story, it makes some interesting effects. This is also an example of pulling a negative image and how they can complement each other:


RUBBER STAMPS


     There are a myriad of rubber stamps in the world -- I liked the effect of these decorative, deeply edged ones.  They are called out as fabric stamps, but worked perfectly in these examples:

If you apply too much paint, use the deli paper to "lift" away some of the color.

And you actually are left with a cool print


Remove some of the paint on the stamp on a piece of paper, it may come in handy

The stamps leave interesting impressions

Add more texture with this tool you easily find at hardware stores


CANVAS

     I was having fun utilizing different types of paper so I had an idea of using a canvas blank as the "paper".  In combination with a rubber stamp and the texture of the canvas, I love how this came out.  Lots of possibilities here!!


The canvas left quite a bit a paint on the plate so don't waste it, pull another print with paper


Printing on a page you have already used can add some interesting effects.


I also tried fabric ink on a baby onesie.  I think there is some potential here but the paint was a little too runny and not the best.  It came out kind of muddy on the onesie but I definitely think there could be something here in the future!


     This gelatin printing plate is so much fun to use -- you can even use regular copy paper.  Since you get so many prints out of a little paint you don't have to spend alot to get custom prints.  And you can use these prints in so many ways - cards, journaling pages, bookmarks.


Tuesday, May 23, 2017

Dollar Store Do Over

MY STORY

     No matter how many gadgets I own, I will never be able to break up with paper.  I started writing in diaries when I was a young girl and have continued my journaling ever since.  And for some reason I have a particular affinity for graph paper.  As someone not exactly into math or science, it is a mystery to me!

     I recently discovered a new tool for my crafting arsenal - gel press mono printing.  I have to admit I'm addicted.  Depending on the color of paint and texturing tools, this is going to be so much fun in creating one of a kind stationery and gifts .  And along with VerDay paints from Ten Seconds Studio and matte resin craft blanks from Relics &Artifacts, my little dollar store notebook has taken on a new life.

YOUR TURN

     For this example you will need:

  • Notebook -- any type
  • Gel Press printing plate
  • Acrylic paint
  • VerDay paint from Ten Seconds Studio
  • Brayer, texture tools (from hardware store)
  • Matte resin craft blanks from Relics & Artifacts
  • Adhesive
  • Various papers -- watercolor, vellum, plain 
  • Ribbon
  • Velcro
  • Assorted charms/beads, jump rings
Gel Press:  Head over to the Gel Press website for more directions and ideas https://gelpress.com/

     Lay out paint as desired on the gelli plate, you can do striping, or just random placement.

     Using the brayer, spread the paint out so it completely covers the gelli plate.  Then, using the texture tools, work through the paint.


    While still wet, lay down your paper (this example uses watercolor paper first) and rub over the paint.  Remove and you have your first one of a kind print.  


    To achieve another look, lay a stencil over the gelli plate and then apply your paper.


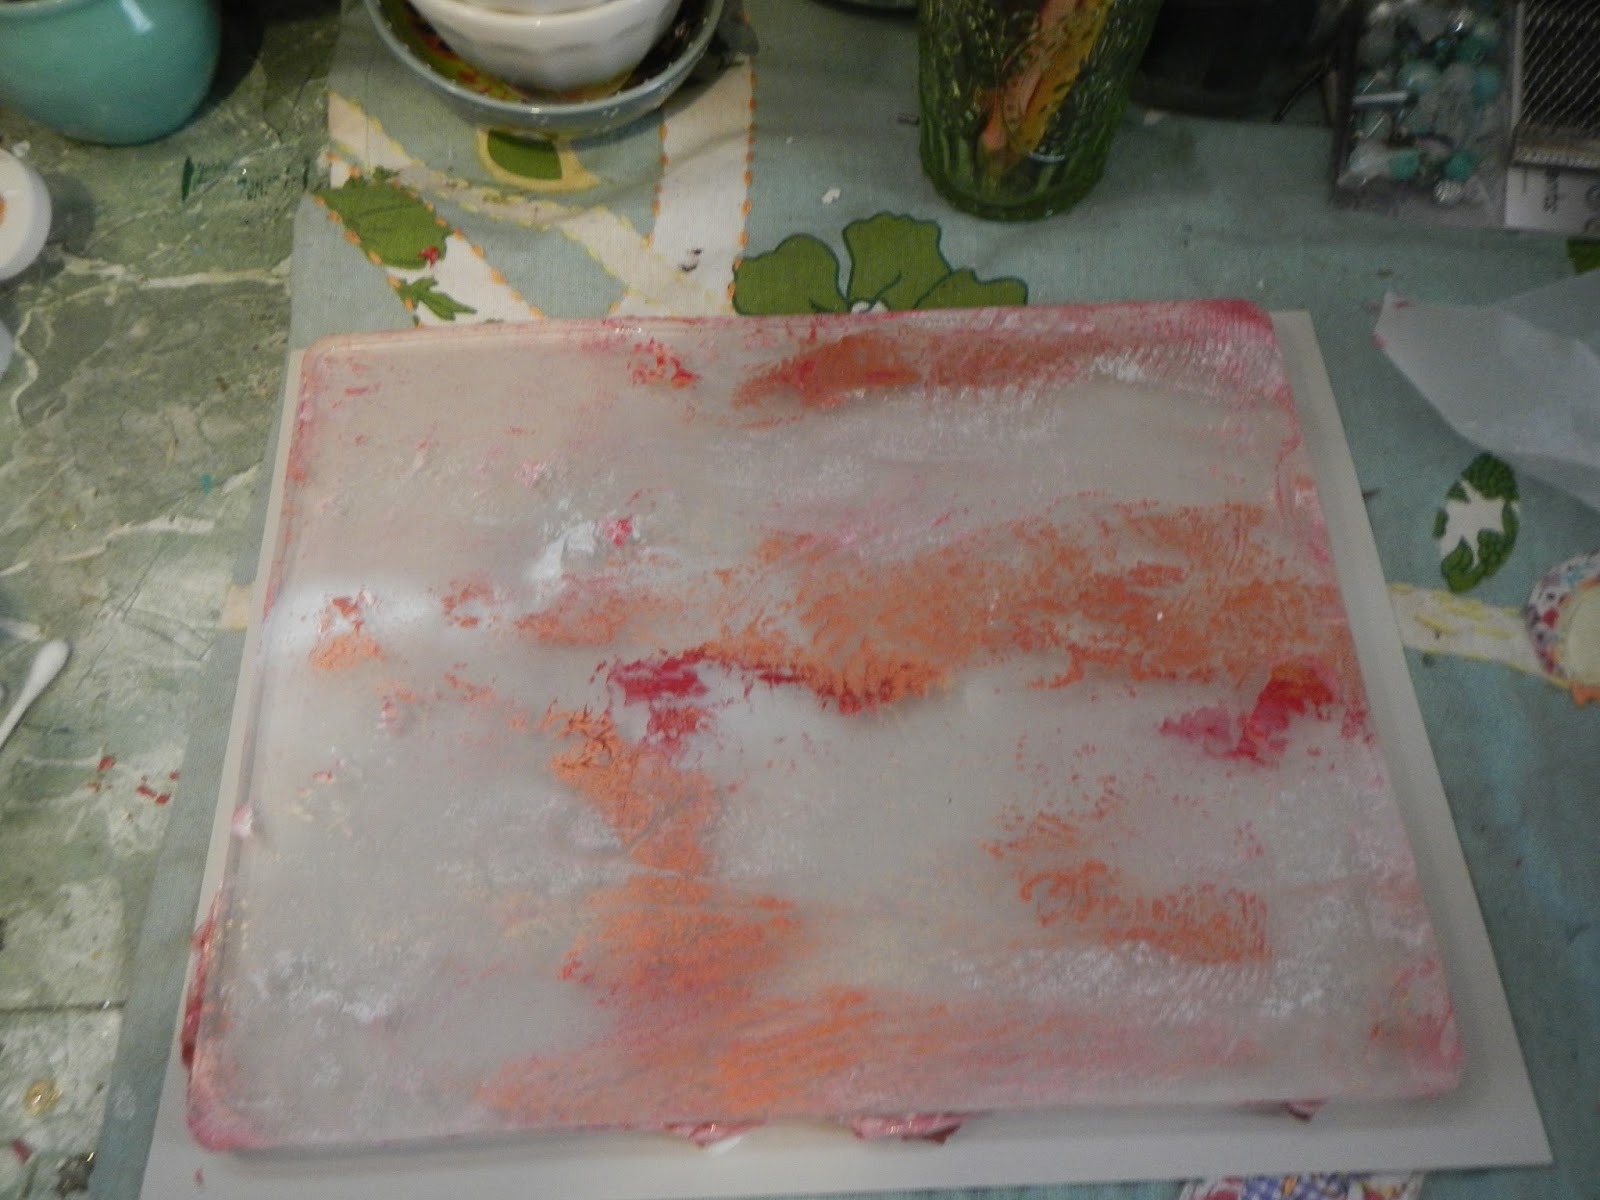
    There is no need to clean the plate, keep using other types of paper until the majority of paint is gone.  This is called creating ghost prints.  Different papers achieve different effects.  What I like is that the color story is the same but you can achieve many looks to create your projects.


    Once dry, adhere your paper to the front of the notebook.


STUDIO HINT:  Apply the paper before trimming.  I find it much easier to trim around the cover then cutting it too close before I glue down.


     Lay out your embellishments before painting them to insure placement.

     Add ribbon and apply velcro so your notebook will keep closed, but easy to open. I used a heart charm to cover the seam.


     I love the VerDay paints from Ten Seconds Studio - check out their YouTube channel for full product ideas and directions.  https://www.youtube.com/user/tensecondsstudio.  Using these paints with the matte resin craft blanks from Relics & Artifacts create beautiful finishes that are easy to accomplish.  See more about Relics & Artifacts products on their site http://www.sandraevertson.com/shop/


STUDIO HINT:  I like to use the same palettes for the various type of paints I use.  It helps me to remember the colors and effects before I start using the paint.  The plastic ones from your local craft store work great.


     Once the paint is dry, add charms with jewelry findings to create the look you want.  Once compiled, adhere as desired to the front of your book and you are finished!!  These techniques can be used in so many variations to create one of a kind gifts to keep or give.