Showing posts with label paper. Show all posts

Tuesday, May 23, 2017

Dollar Store Do Over

MY STORY

     No matter how many gadgets I own, I will never be able to break up with paper.  I started writing in diaries when I was a young girl and have continued my journaling ever since.  And for some reason I have a particular affinity for graph paper.  As someone not exactly into math or science, it is a mystery to me!

     I recently discovered a new tool for my crafting arsenal - gel press mono printing.  I have to admit I'm addicted.  Depending on the color of paint and texturing tools, this is going to be so much fun in creating one of a kind stationery and gifts .  And along with VerDay paints from Ten Seconds Studio and matte resin craft blanks from Relics &Artifacts, my little dollar store notebook has taken on a new life.

YOUR TURN

     For this example you will need:

  • Notebook -- any type
  • Gel Press printing plate
  • Acrylic paint
  • VerDay paint from Ten Seconds Studio
  • Brayer, texture tools (from hardware store)
  • Matte resin craft blanks from Relics & Artifacts
  • Adhesive
  • Various papers -- watercolor, vellum, plain 
  • Ribbon
  • Velcro
  • Assorted charms/beads, jump rings
Gel Press:  Head over to the Gel Press website for more directions and ideas https://gelpress.com/

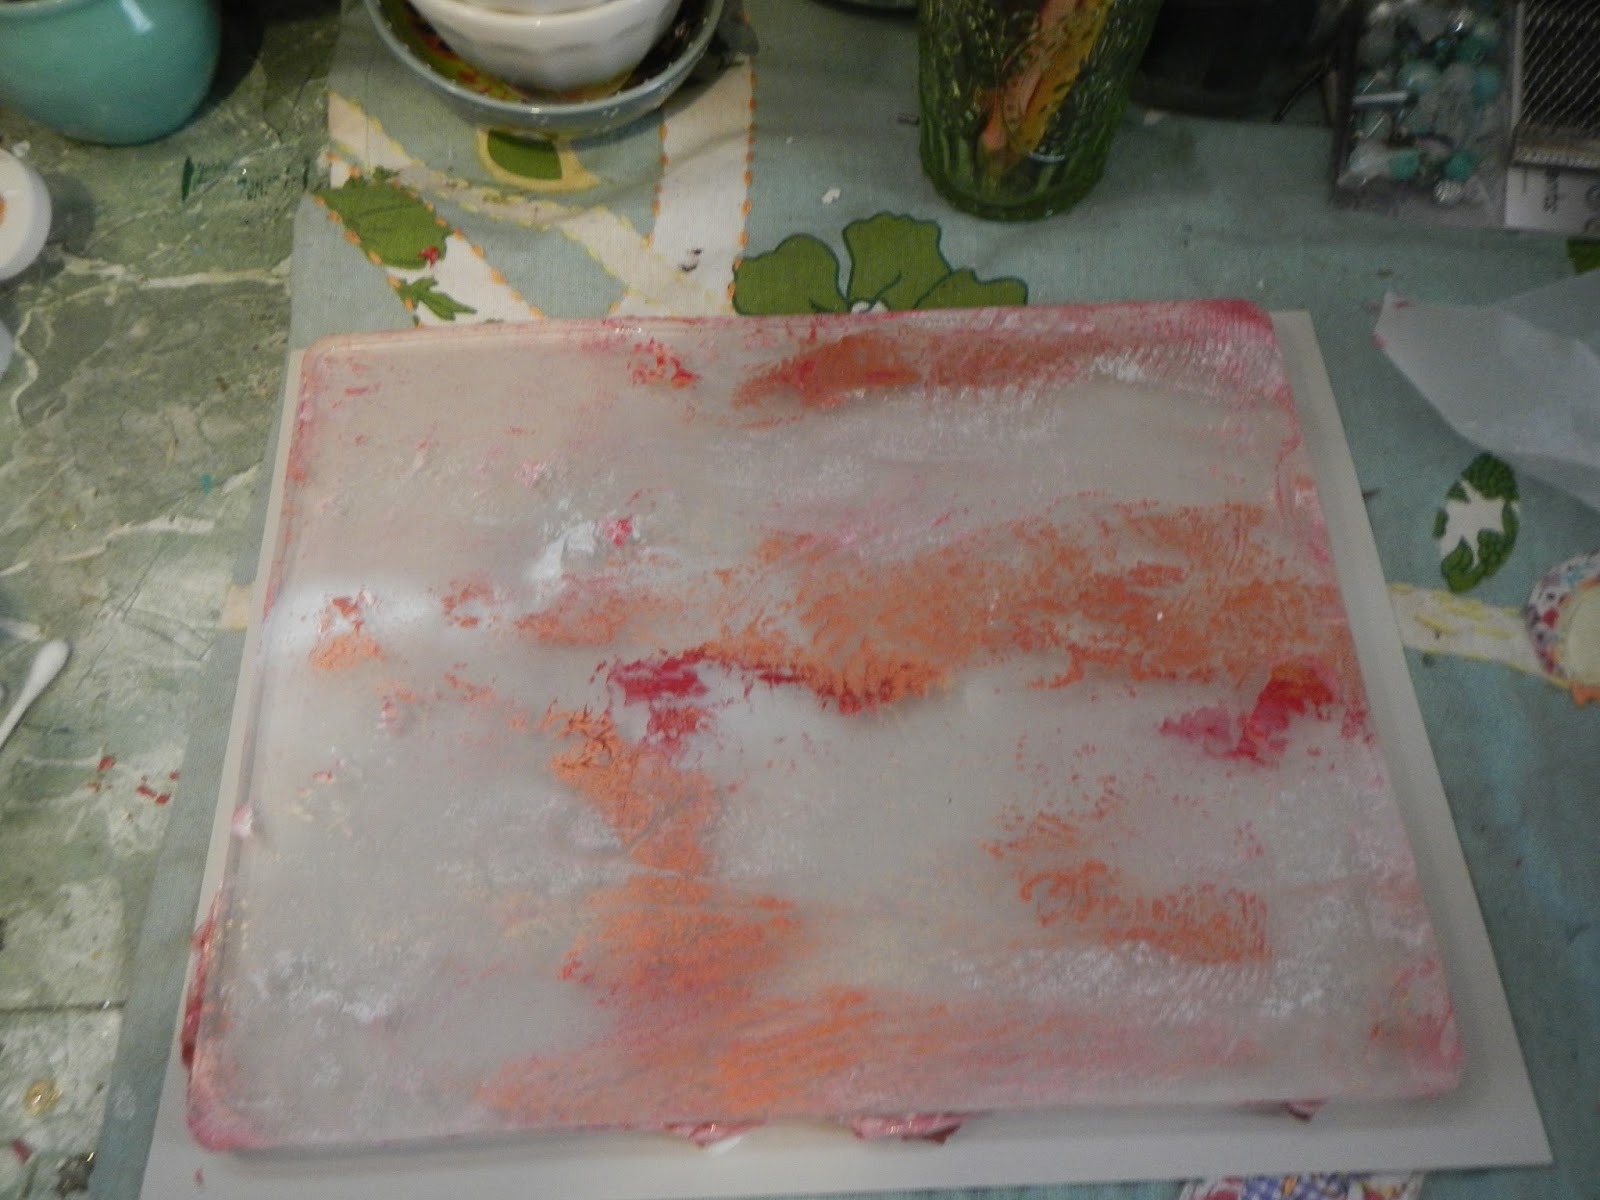
     Lay out paint as desired on the gelli plate, you can do striping, or just random placement.

     Using the brayer, spread the paint out so it completely covers the gelli plate.  Then, using the texture tools, work through the paint.


    While still wet, lay down your paper (this example uses watercolor paper first) and rub over the paint.  Remove and you have your first one of a kind print.  


    To achieve another look, lay a stencil over the gelli plate and then apply your paper.


    There is no need to clean the plate, keep using other types of paper until the majority of paint is gone.  This is called creating ghost prints.  Different papers achieve different effects.  What I like is that the color story is the same but you can achieve many looks to create your projects.


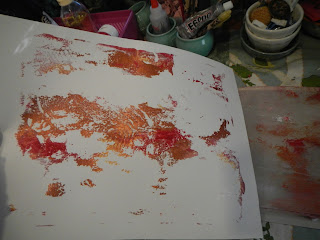


    Once dry, adhere your paper to the front of the notebook.


STUDIO HINT:  Apply the paper before trimming.  I find it much easier to trim around the cover then cutting it too close before I glue down.


     Lay out your embellishments before painting them to insure placement.

     Add ribbon and apply velcro so your notebook will keep closed, but easy to open. I used a heart charm to cover the seam.


     I love the VerDay paints from Ten Seconds Studio - check out their YouTube channel for full product ideas and directions.  https://www.youtube.com/user/tensecondsstudio.  Using these paints with the matte resin craft blanks from Relics & Artifacts create beautiful finishes that are easy to accomplish.  See more about Relics & Artifacts products on their site http://www.sandraevertson.com/shop/


STUDIO HINT:  I like to use the same palettes for the various type of paints I use.  It helps me to remember the colors and effects before I start using the paint.  The plastic ones from your local craft store work great.


     Once the paint is dry, add charms with jewelry findings to create the look you want.  Once compiled, adhere as desired to the front of your book and you are finished!!  These techniques can be used in so many variations to create one of a kind gifts to keep or give.


Saturday, February 8, 2014

Confessions Of A Paper Addict

MY STORY
        Ok, I admit it.  I'm a Paper Addict...and  I know there are many of you out there like me.  Oh, I try to pretend by having every gadget known to man for high-tech note taking and synced calendars and appointment reminders.  However, there is still nothing as beautiful to me as the sound of a pen on paper.

      Like some of my friends hide new shoe purchases, I horde notebooks.  I have notebooks of every manufacturer and each of  them has a very specific purpose:  My Moleskine for sketching, my Rhodia for general note taking, my Levenger Circa notebook for my planner and a whole slew of lined, blank, graph, storyboard pages.....yes my problem is vast.

     Like the sweet enabler he is, my husband introduced me to a product with a cult following that I, shockingly, had never heard of.  Called The Traveler's Notebook by Midori, this little wonder is like a precious treasure.  First of all, the Japanese paper that comes with the notebook is beautiful and takes any type of ink with no bleed through.  And the beautiful, minimal yet functional packaging, is like a treat to open.
     And there are accessories you can purchase that can help you personalize your own Traveler's Notebook.  I had to get the graph paper and perforated sketchbook ones.  And charms, and bands and pen holders - Oh My!

     Along this journey I also discovered a great e-commerce site for my supplies.  Baum-kuchen is an amazing paper goods site and the owner, Wakako, sent me an email after placing my order asking me about myself, thanking me for my order and kept in touch with me until the moment my beautiful package arrived at my door!  Great site, check them out (www.baum-kuchen.net).

YOUR TURN

     Your new stationery adventure starts with the beautiful packaging and Japanese literature.  The Traveler's notebook comes in a heavy card stock envelope and then it is wrapped inside a lovely burlap bag (both of which I see incorporating into future crafting escapades).  My example is the dark brown full size Traveler's Notebook.  They also offer a passport size book.


 There is limited hardware and the simple leather notebook is  held together with a band.  It is beautiful as is, but the joy is in customizing it to suit your purposes.  To add notebooks (they recommend a maximum of two additional notebooks) you find the center of the supplied notebook and back that book up with one in the back and one in the front.  Find the center of those books and add your band.  If the following pictures don't do it justice, there are many blogs out there as well as YouTube videos.  I will post my favorite one at the end of today's entry.

Notice the YouTube tutorial playing in the background!

     I also changed the outer band with an orange one.  I  added the accessories of the pen holder and adhesive pockets - great for business cards, receipts and a larger pocket that has one end zipped and the other open.  Great for collecting scraps of memorabilia on your travels.  You just feed that piece underneath all the books.


     Just by starting to handle this, the leather is just gorgeous to the touch. I think of my artist friends -- this book is a journal waiting to happen.  Makes me want to be sitting in a Parisian cafe sketching the world as it goes by.

      YouTube tutorial from The Goulet Pen Company