Showing posts with label DIY Valentines Day. Show all posts

Wednesday, February 18, 2015

Valentines Card & Candy Bag

MY STORY

     It's Decorate To Celebrate time again.  I had seen some Pinterest boards showing 3D ideas and after a visit to my local drugstore, here is what I came up with.

YOUR TURN

   What you will need:

  • small sandwich bag
  • candy of your choice, my sample relates to those yummy gummy candies
  • scrap paper
  • computer program (I used Microsoft Publisher)
  • ribbon
  • cardstock
  • hole punch


   Using a program like Microsoft Publisher create your graphic.  I find Publisher really easy to use and since I have yet to master drawing, it helps me accomplish what I want to do.  Create one graphic using the size of your cardstock, then copy and paste onto a smaller template for your gift bag.  There are plenty of books and YouTube videos on Publisher or any other software program you want to use.


   For the card, simply cut out your graphic, apply to background paper and adhere to your cardstock.  The image of the fishing pole was the perfect size to add the real fish.  


   For the candy bag, add your candy and seal up the bag.  Take another scrap of your background paper and measure so it covers the top of your baggie.  Measure so it covers 1/2 of the front and 1/2 of the back of your bag.  Use a hole punch and punch through the paper and bag.  Don't punch too close to the top - it will rip when you insert your ribbon.


   Taking a small piece of ribbon thread through the hole.  You may need to open up the hole a little bit to get the ribbon through completely.

   Using your smaller graphic, add to solid cardstock and add to the front of your card. 


 This is a "sweet" project for kids gifts, and think of how many options you can come up with.  Think of those little hearts.  Using different wording and graphics, this idea can be used in many different ways.


Wednesday, February 4, 2015

Key to my Heart Gift Box

MY STORY

     It's time for another design challenge at Decorate To Celebrate!  Make sure you visit their blog for great crafty inspirations and a chance to submit your own designs for prizes.  For this challenge, I wanted to come up with a fun way to create a gift box to give a goodie to your loved one.  This idea can be used for any size box you may have at home, you would just need to adjust the size of your paper, heart, etc.

     Have fun and I hope you can incorporate some of these ideas into your Valentines gifting!

YOUR TURN

    For this project you will need:


  • empty box - any size
  • acrylic paint / foam brush
  • coordinating paper 
  • Rhinestone or other blingy material to create your heart.  Since I can not draw freehand I pulled up some heart templates online and used as my guide.  And nothing is easier to use than self adhesive rhinestone sheets from  The Buckle Boutique. 
  • Key -- you can use old keys that you may have around the house.  I found these great keys in the clearance bin @Michaels.   I wanted kind of an old fashioned/shabby look and these worked perfectly.
  • Ribbon scrap
     Paint the sides of your box with paint color of your choice.  I tend to pick the paper I want to use first and then pick a complementary paint.  Set aside to dry.


     Using your heart template, cut out the material you are using for your heart.  


     I was looking for a little bit of a distressed look, so I removed some of the rhinestones to make it look a little imperfect.

    Cut out your paper to fit the top of your box.  Adhere your rhinestone heart, your key to the paper and glue on to box top.

   Add a piece of ribbon and that's it.  You have a beautiful box to give your special someone that special something.


Wednesday, February 5, 2014

You've Been Framed! Valentines Gift Box

MY STORY

     Are you looking for a different custom box for your loved ones this Valentines Day?  Something a little special to present those diamonds, chocolates or car keys perhaps?  Here is my current submission for the Decorate To Celebrate Design Team.

     I enjoy creating gift boxes that could serve a dual purpose.  See below for an easy project that is not only a cute gift box, but a stand alone frame.  I love two gifts in one!


  YOUR TURN
     See how easy it is to create this yourself.


Wednesday, January 22, 2014

Valentines Treat Bags

MY STORY

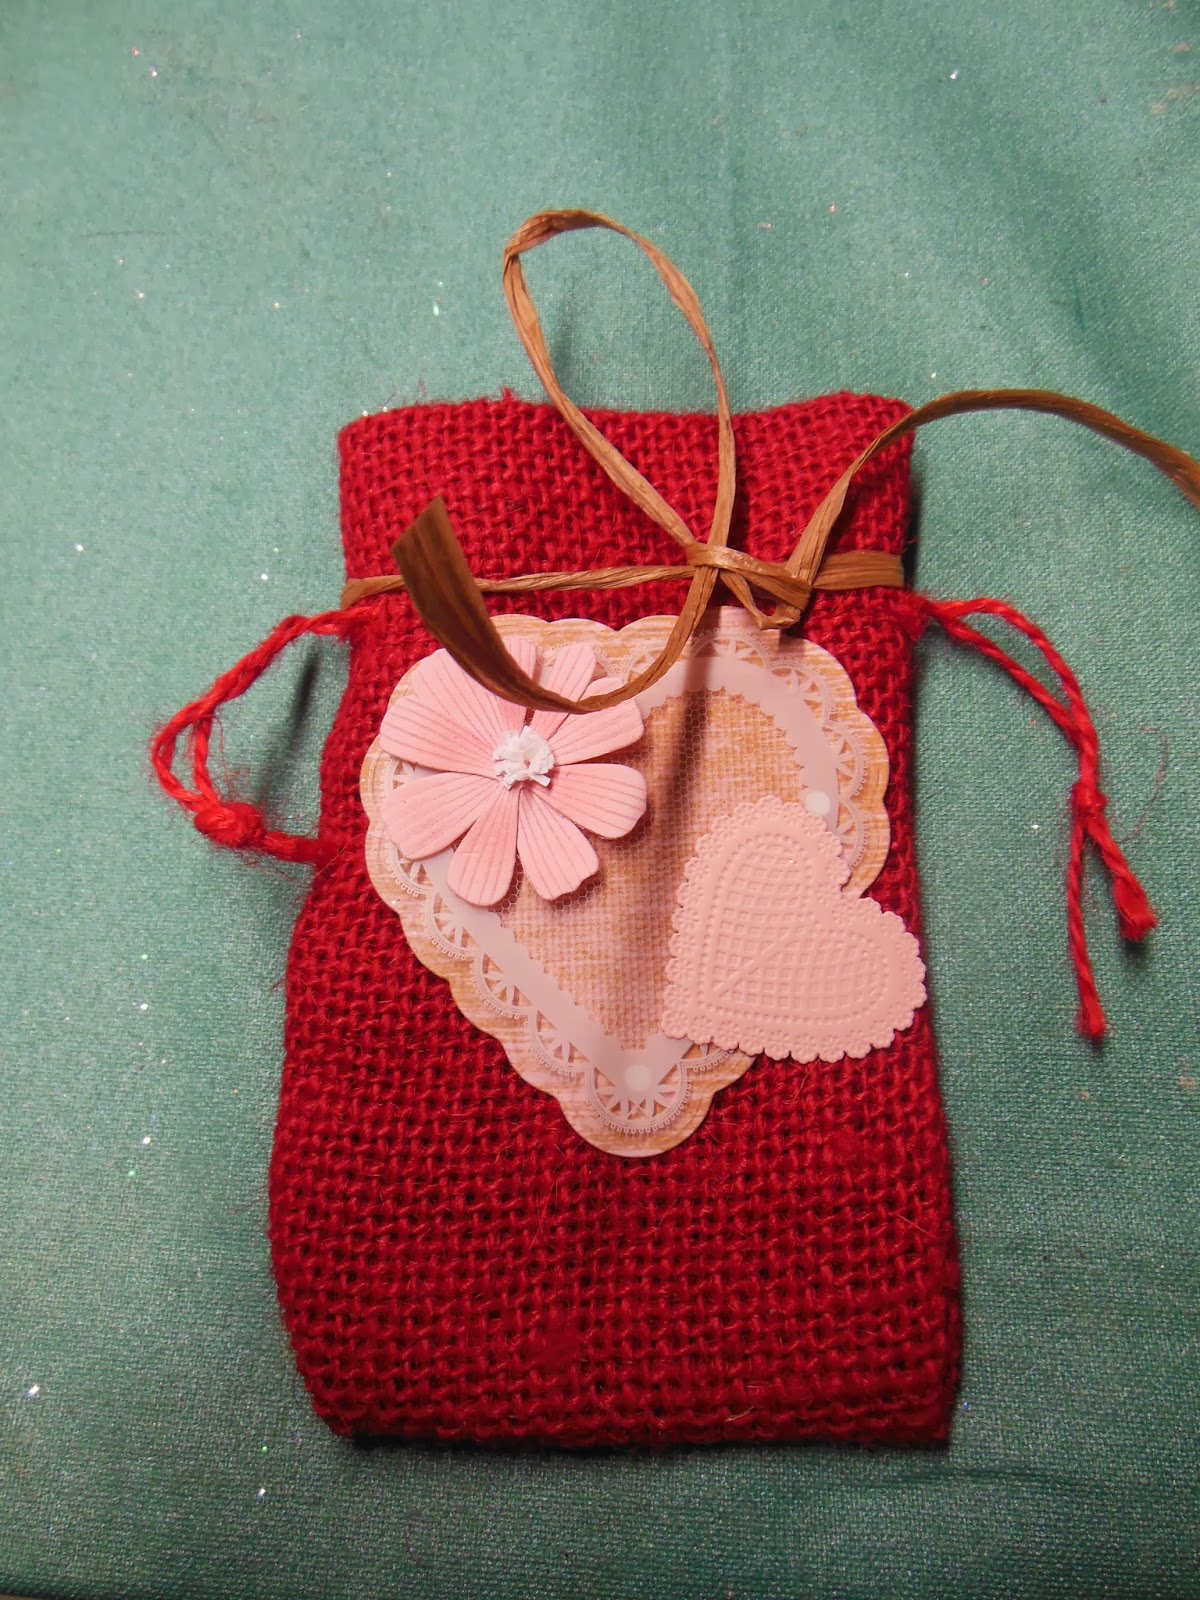
     The next challenge for the Decorate to Celebrate Design Team is Valentines Treat Bags.  I found these adorable mini burlap bags in the clearance bins and knew I had to use them!
      With a great selection of stickers from Martha Stewart and Michaels, this was a quick and easy way to have cute little bags ready to give out to all my Valentines :)

YOUR STORY:

   What you will need:

Stickers, raffia, ribbons

Mini Burlap Bags


     Start layering on the stickers and some you can just leave plain, it is really all up to you.  HINT:  Leave the "background" sticker on the plastic sheet it comes with.  It is easier to layer and then pull up the finished piece.  Sometimes I add a little glue for extra staying power.
Layer various stickers in different combinations

Adhere to the front of your bag
     I think these treat bags are very sweet and are perfect for little treats or potpourri for sachets.  I have told my husband jewelry would fit quite nicely in these also!  And since there is little cost and time associated with making these bags, I like to make a big stash and keep them handy for dentist's staff, mail carriers, teacher gifts, etc.  Have fun and show someone you love and appreciate them this Valentines Day.  xo


Add a ribbon loop so you can hang from a doorknob