
As I was working on my submission for the Design Team at Decorate to Celebrate (call out was for 3D flowers), I received a call from a girlfriend who was in the throes of planning a baby shower for her daughter. "I need some ideas for place settings and favors that are cheap and easy to do, so I thought of you." Well, ok? I've been called worse! So the timing couldn't be better to come up with an idea for both assignments. Just as as was sitting down with my vast inventory of arts and crafts supplies, my inbox flared up with my new email from MarthaStewartweddings.com with the subject line "Paper Flowers How-To". Divine intervention!
So following the suggestions from my idol and her team, I came up with a simple paper dahlia using tissue paper I got at my favorite dollar store and I think the results are cute. Have fun!

YOUR TURN
What you will need:
-tissue paper - colors and/or patterns up to you
-Scissor
-Ribbon or Raffia
-container - for my examples I used small glass candleholders and a small mason jar
Now get started:
1. Print out the template from the webpage (http://www.marthastewartweddings.com). You can enlarge or decrease the size based on the size petals you want.

2. Fold your tissue paper in half lengthwise and then in half from right to left.
3. Line up your template - making sure the straight edges of the template are on the folds of your tissue paper (you will know if you don't do correctly, as you will have a fractured petal - but don't worry, you can always put that to good use on a later project!).

4. Cut out and you should have two full circles remaining. Layer on top of each other, staggering the location of the petal tips.


5. You can create as many layers with as many different types of tissue paper you want.
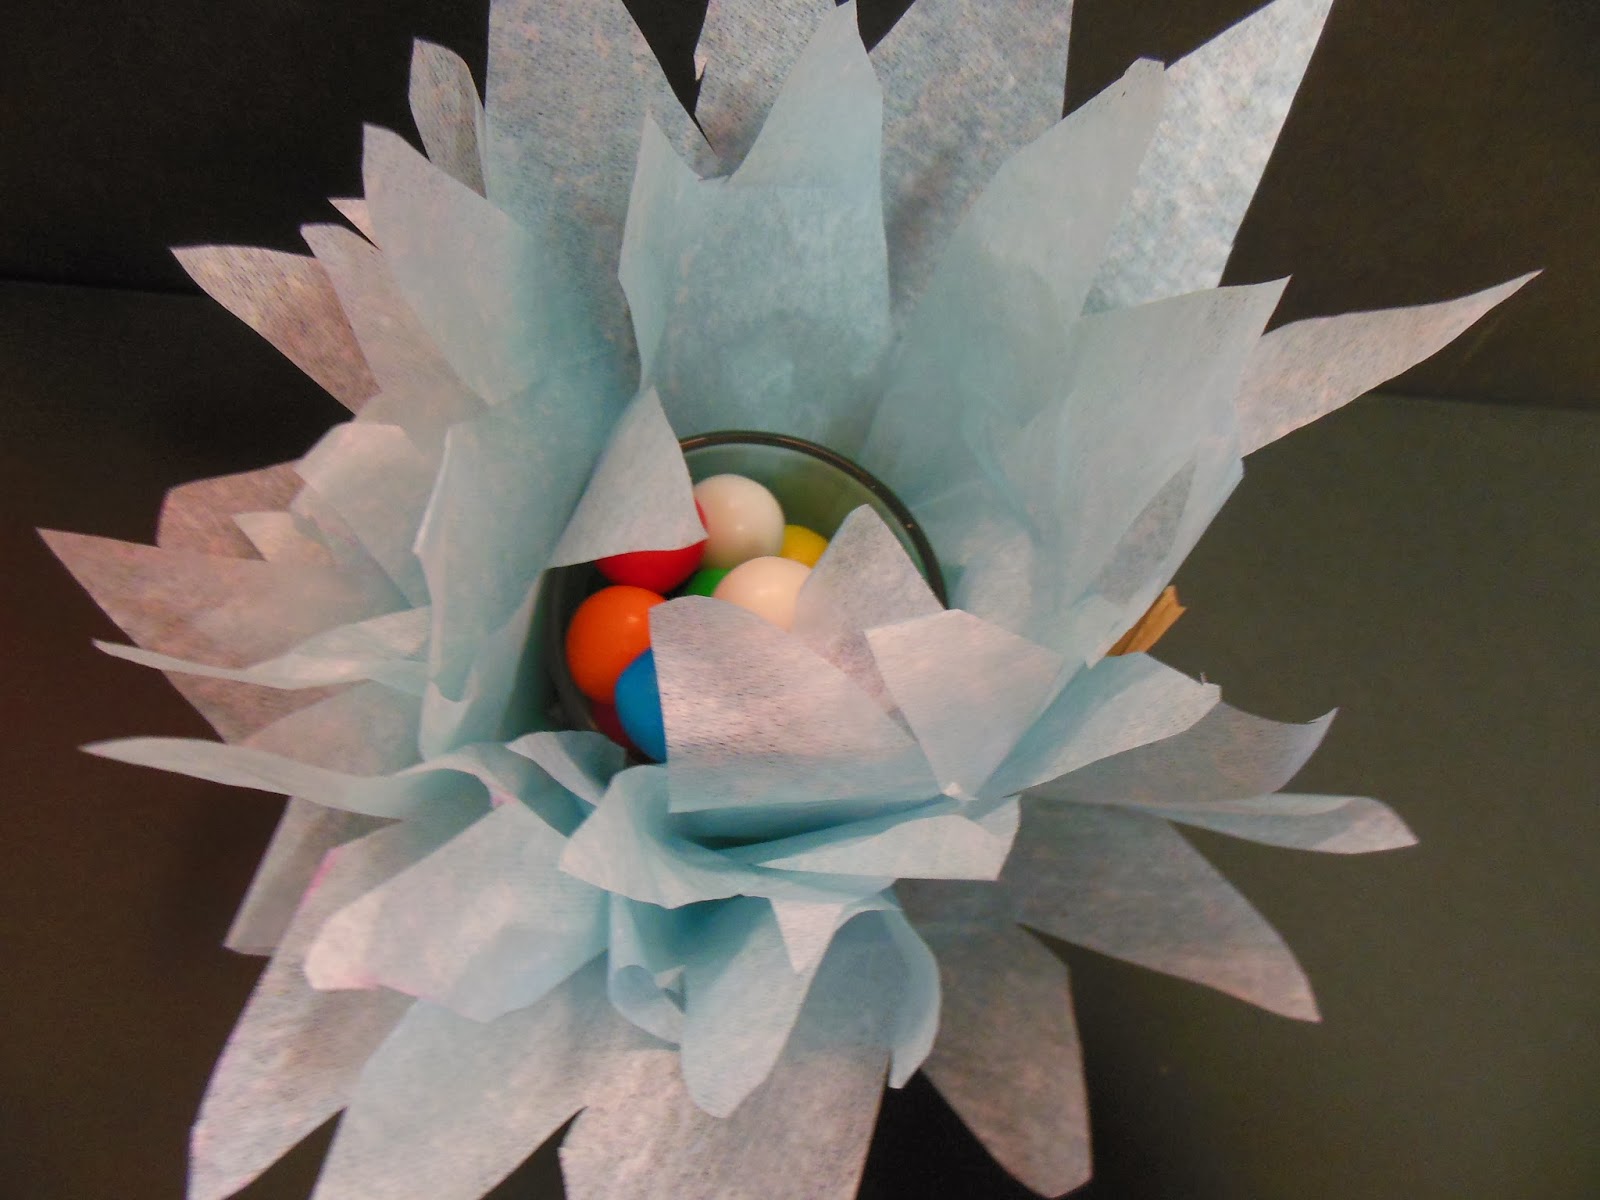
6. For my example, using a small candleholder, place your container in the center of the circle and gather around the container. This is the same process regardless of what type of container you are using.

7. Wrap with raffia and/or ribbon and fill your container with goodies - I thought the gumballs looked festive, but use anything that may fit with your particular theme or event. Once you have it securely tied, fluff up the paper petals until you get the look you want.

Here are other examples using different types of tissue paper and containers:


Think red, white and blue for July 4th or green and red for the Holidays. I love projects that make me feel like a kid again and I hope you find it fun as well.
These are so gorgeous!! I love how they look!! And thanks for the tutorial, too!! Have a great evening :)
ReplyDeleteLisa
A Mermaid's Crafts
Thank you Lisa
DeleteWOW! what a fabulous project, they looks beautiful!!
ReplyDeleteHugs,
Norma
Thank you Norma!
DeleteThese are great, Patti! So much fun for a shower!
ReplyDeleteHave a great weekend!
Emily
Mollie's Motif
Thank you Mollie!
Delete