
No matter how many gadgets I own, I will never be able to break up with paper. I started writing in diaries when I was a young girl and have continued my journaling ever since. And for some reason I have a particular affinity for graph paper. As someone not exactly into math or science, it is a mystery to me!
I recently discovered a new tool for my crafting arsenal - gel press mono printing. I have to admit I'm addicted. Depending on the color of paint and texturing tools, this is going to be so much fun in creating one of a kind stationery and gifts . And along with VerDay paints from Ten Seconds Studio and matte resin craft blanks from Relics &Artifacts, my little dollar store notebook has taken on a new life.
YOUR TURN
For this example you will need:
- Notebook -- any type

- Gel Press printing plate

- Acrylic paint
- VerDay paint from Ten Seconds Studio
- Brayer, texture tools (from hardware store)

- Matte resin craft blanks from Relics & Artifacts

- Adhesive
- Various papers -- watercolor, vellum, plain

- Ribbon
- Velcro
- Assorted charms/beads, jump rings


Gel Press: Head over to the Gel Press website for more directions and ideas https://gelpress.com/
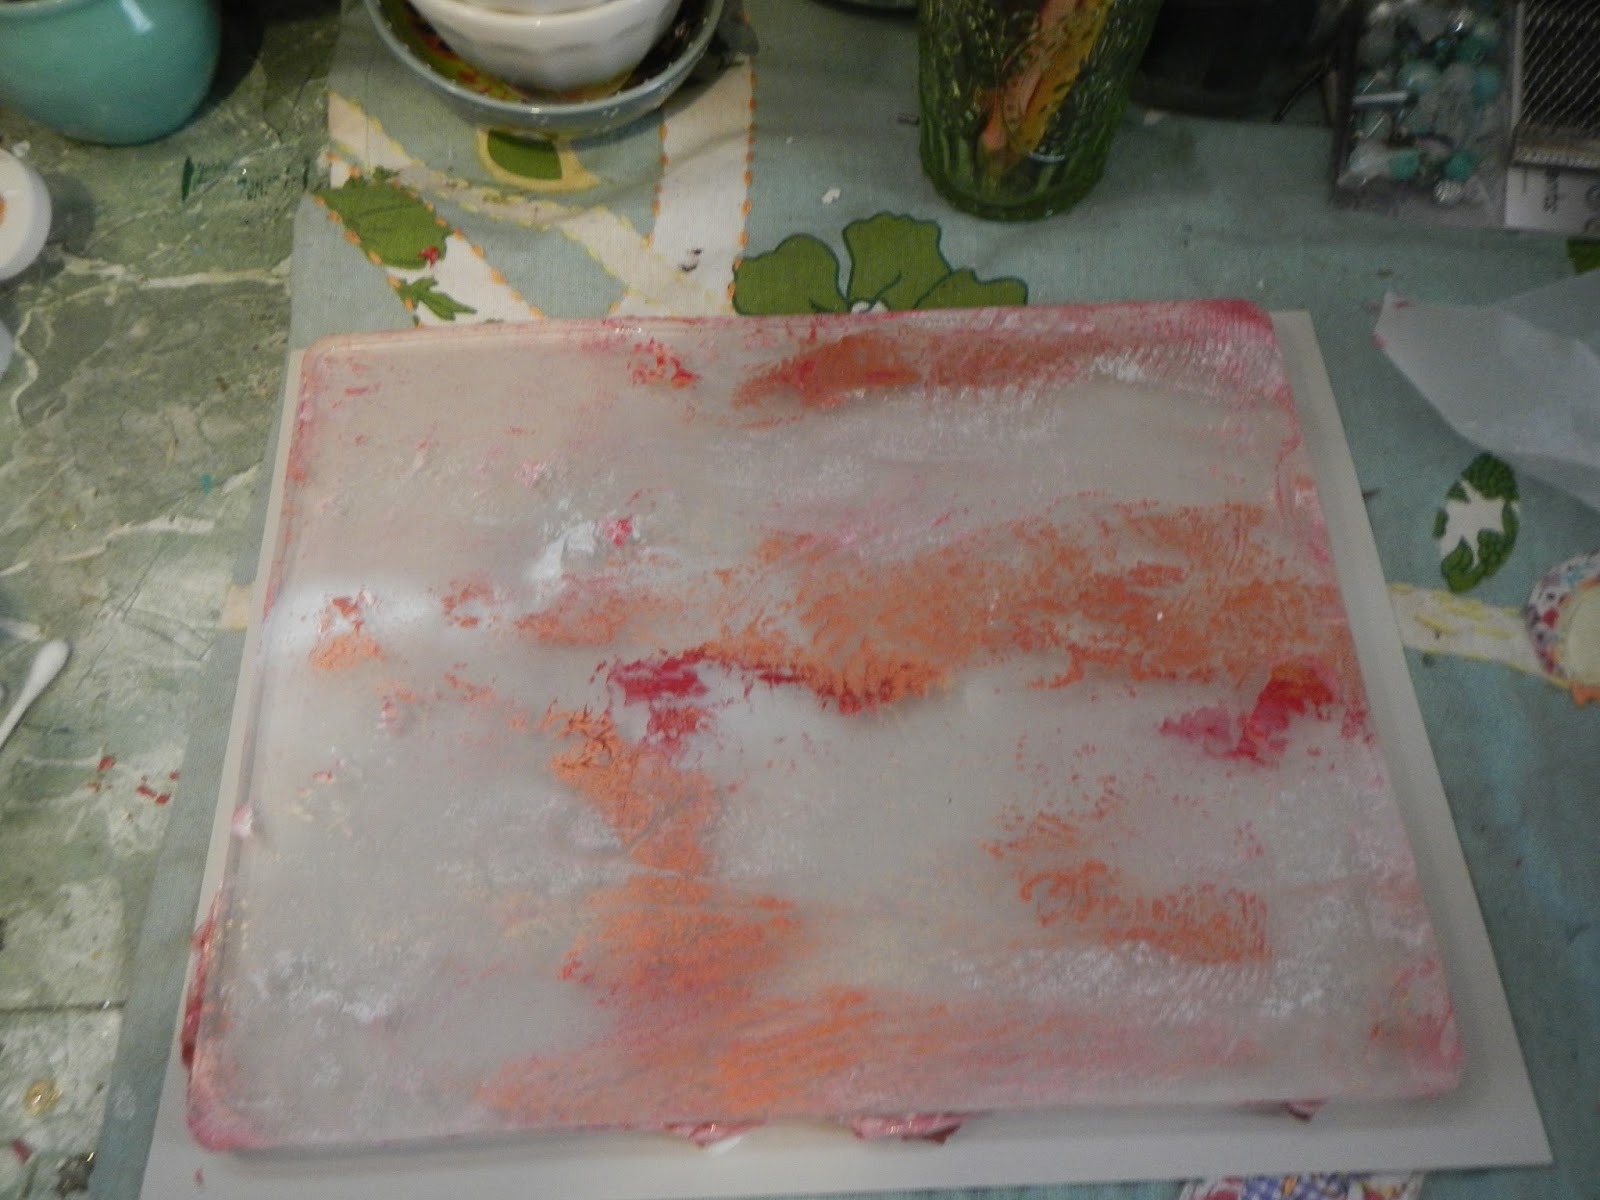
Lay out paint as desired on the gelli plate, you can do striping, or just random placement.


Using the brayer, spread the paint out so it completely covers the gelli plate. Then, using the texture tools, work through the paint.


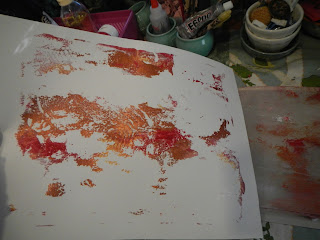
While still wet, lay down your paper (this example uses watercolor paper first) and rub over the paint. Remove and you have your first one of a kind print.


To achieve another look, lay a stencil over the gelli plate and then apply your paper.


There is no need to clean the plate, keep using other types of paper until the majority of paint is gone. This is called creating ghost prints. Different papers achieve different effects. What I like is that the color story is the same but you can achieve many looks to create your projects.


Once dry, adhere your paper to the front of the notebook.


STUDIO HINT: Apply the paper before trimming. I find it much easier to trim around the cover then cutting it too close before I glue down.
Lay out your embellishments before painting them to insure placement.

Add ribbon and apply velcro so your notebook will keep closed, but easy to open. I used a heart charm to cover the seam.


I love the VerDay paints from Ten Seconds Studio - check out their YouTube channel for full product ideas and directions. https://www.youtube.com/user/tensecondsstudio. Using these paints with the matte resin craft blanks from Relics & Artifacts create beautiful finishes that are easy to accomplish. See more about Relics & Artifacts products on their site http://www.sandraevertson.com/shop/


STUDIO HINT: I like to use the same palettes for the various type of paints I use. It helps me to remember the colors and effects before I start using the paint. The plastic ones from your local craft store work great.

Once the paint is dry, add charms with jewelry findings to create the look you want. Once compiled, adhere as desired to the front of your book and you are finished!! These techniques can be used in so many variations to create one of a kind gifts to keep or give.


No comments :
Post a Comment
Thank you for reading The Everyday Muse. I appreciate all your comments and feedback!