MY STORY
I have become just a tad addicted to gelatin mono printing with products from Gel Press I discovered on Facebook. This posting includes some additional techniques and the results are fun, easy to adapt and experiment with. Check out their product and tutorials on their website
CLICK HERE
YOUR TURN
I have used various paints and papers to achieve different effects. With just a small amount of paint and inexpensive papers you can create unique prints that can be used on various projects -- journaling, cards, decor. See the previous post at The Everyday Muse for more ideas.
Utilizing other paper: Stampington & Company publish numerous national magazines in the craft area. Many of their magazines include free artist paper. I tried using of these papers and add printing on top of it. I actually used way too much paint on this example and covered the paper so the original was gone. But I still liked the outcome.
 |
| Red & gun metal acrylics, rubber stamp for texture, brayer for spreading paint |
 |
| You can lift off excess paint with deli paper. |
Metallic Reactive Paints: I love the metallic reactive paints from Ten Second Studios. When the special spray is added to the wet paint, you can create interesting patina finishes based on the colors you use.
More can be found on the Ten Seconds Studio website:
Click Here
 |
| This example uses the copper and iron base paints |
 |
| Pull a texturizing tool through the wet paint |
 |
| The tool creates some interesting textures |
 |
| With first coat |
 |
| With sea sponge, apply second coat of paint where desired. Immediately spray with patina finish |
 |
| Shiny!!! |
Stencils: In my earlier post I showed how you can use stencils to create positive/negative effects. These would be great in facing journal pages, etc., as the prints complement each other.
 |
| Used black, light blue and white to create a wintry night sky |
 |
| Position stencil as desired |
 |
| Pull your first print |
 |
| Remove stencil |
 |
| Pull another print creating what is called a ghost print |


 |
| First pull using metallic reactive paint |
 |
| Remove stencil, pull a ghost print |
 |
Adding patina spray
|
I'm not much of a freehand sketcher so I tried laying a stencil underneath the gelli plate and brush on paint instead of spreading with a brayer. I'm not completely overjoyed but I think it would be better with a simpler stencil. But this piece can still be used in a project:
Paper Mache: Using a large letter as my paint surface I love these results. I added a coordinating canvas as a backing to add some interest.
 |
| White, light blue, burnt umber acrylics |
 |
| Add rubber stamp for texture |
 |
| missed a spot, but there's plenty of paint left on the plate |
 |
| A ghost print once you remove the letter. Not perfect but love the colors and how rich the stamped texture came out |
 |
| Reload with the same paint and a different stamp for texture |
 |
coated canvas
|
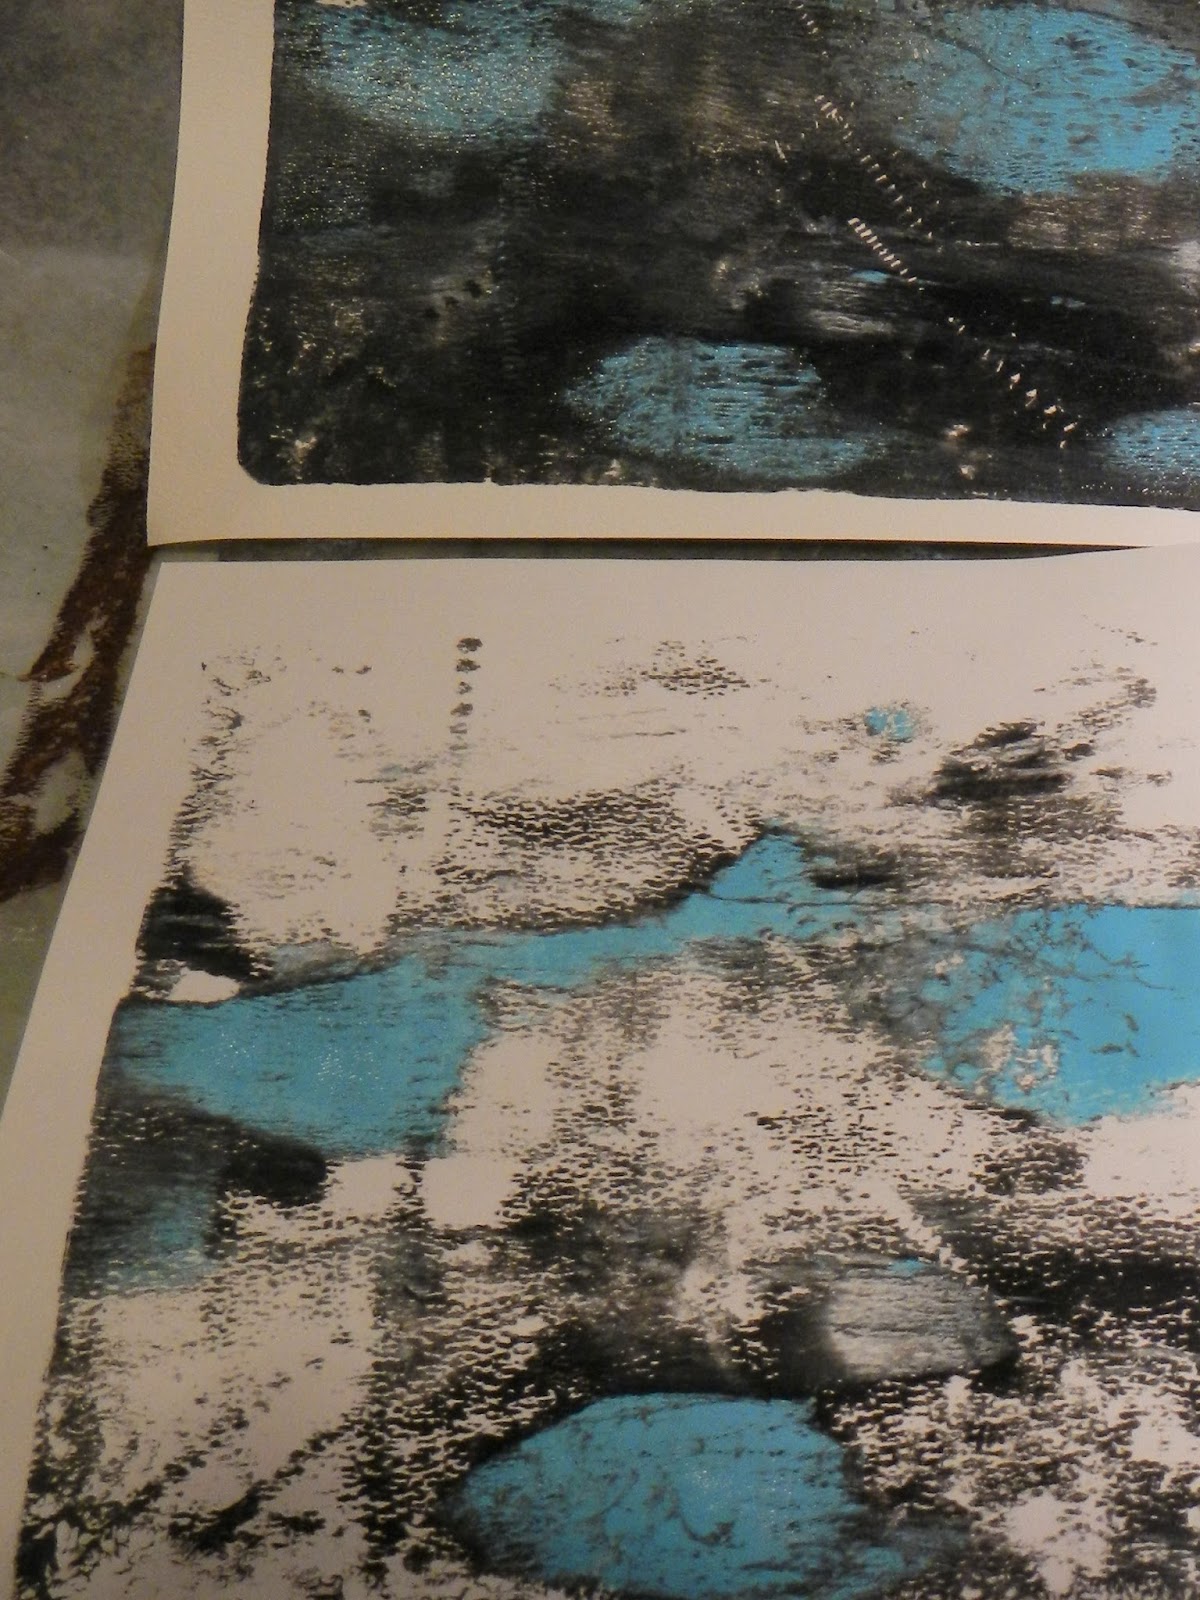
More Ghost Prints:
 |
| First pull using black, light blue and white + texture tool |
 |
| Second Pull |