MY STORY
I am loving the current decor trend of marquee lights. I especially love real vintage ones. So I researched Pinterest, etc., and came up with this tutorial on making my own Faux Marquee Lights. I think they are cute!!!
YOUR TURN
I found the perfect paper mache letters at The Paper Source. The first step takes a little elbow grease. Using a sharp knife, slice through the letters halfway through. I discovered it doesn't have to be a perfect line, the jagged edges kind of look cool in the end result. HINT: The paper mache starts to get a little fragile so go gently so it does bend.
When you are finished, you will have a dissected letter. Keep the top half for another project. The bottom of the letters are what you will be using for this project. HINT: Do all the steps on one letter. To be sure you like the technique, colors, etc., complete one letter. If you are happy with the result, then you can do the other letters in an assembly line.
STEP ONE: paint a sealer onto the letters. Trust me, it will make the paint flow and adhere much better. Let dry.
STEP TWO: paint your desired color onto the letters, don't forget the sides. I was going for a very specific look and the paint name "red iron oxide" was exactly the treatment I was going for. Go through pinterest, the web, for other ideas. Paint two coats. Let dry.
STEP THREE: apply a thin coat of metallic gold acrylic paint. Work in small sections....before the paint dries, wipe it off with a paper towel. This gives you the hint of metallic without covering up your original paint choice. Again, let dry.
STEP FOUR: optional...I painted a thin coat of crackle medium to help in the aging process. Very subtle result, so you can probably skip if you are getting impatient.
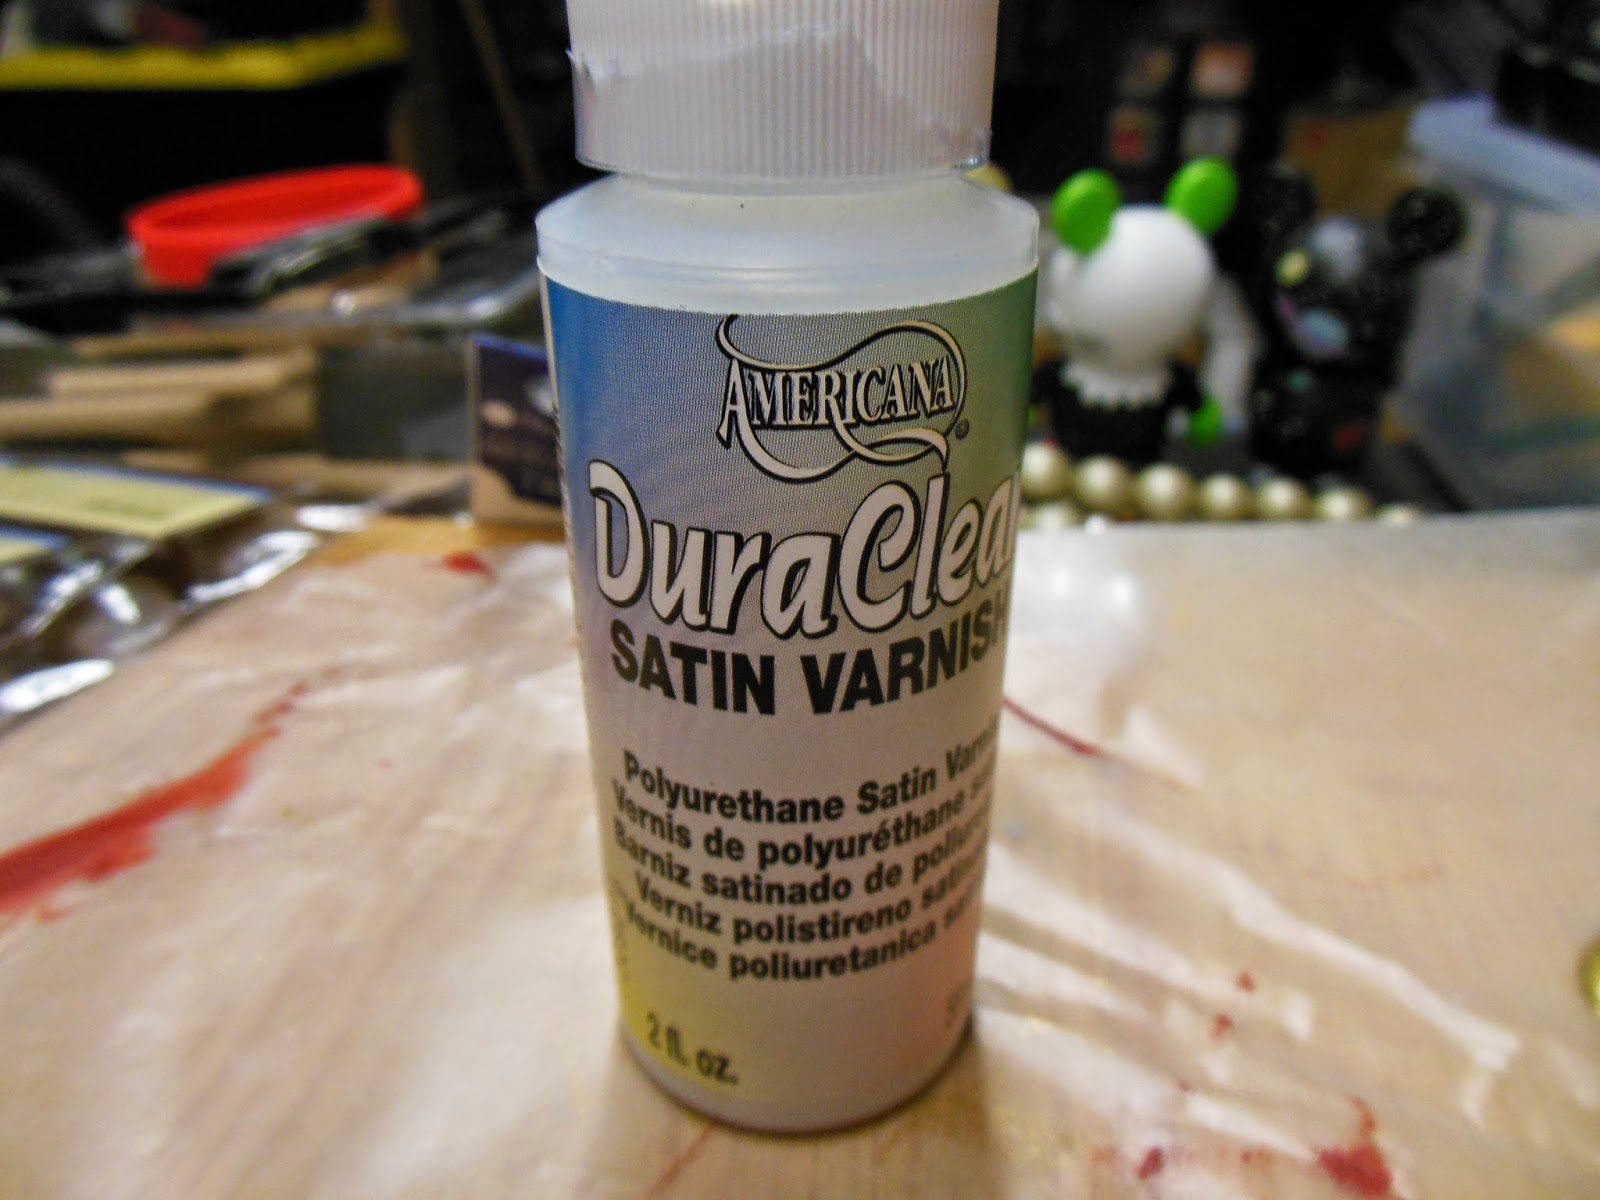
STEP FIVE: When crackle is dry, cover with two coats of a satin varnish to seal in the color.
STEP SIX: While the varnish is still wet, place your "lights" . I found these perfect pearl stickers by Recollections. They have a flat back, and being stickers, already have adhesive on them. And by applying them when the varnish is still wet, the stickers stay put.
And you are happy with the first letter, now you can lay out the rest and do all the steps at one time.
And that's it.....I think it is a fun look and I can hardly wait to try out additional colors/techniques.
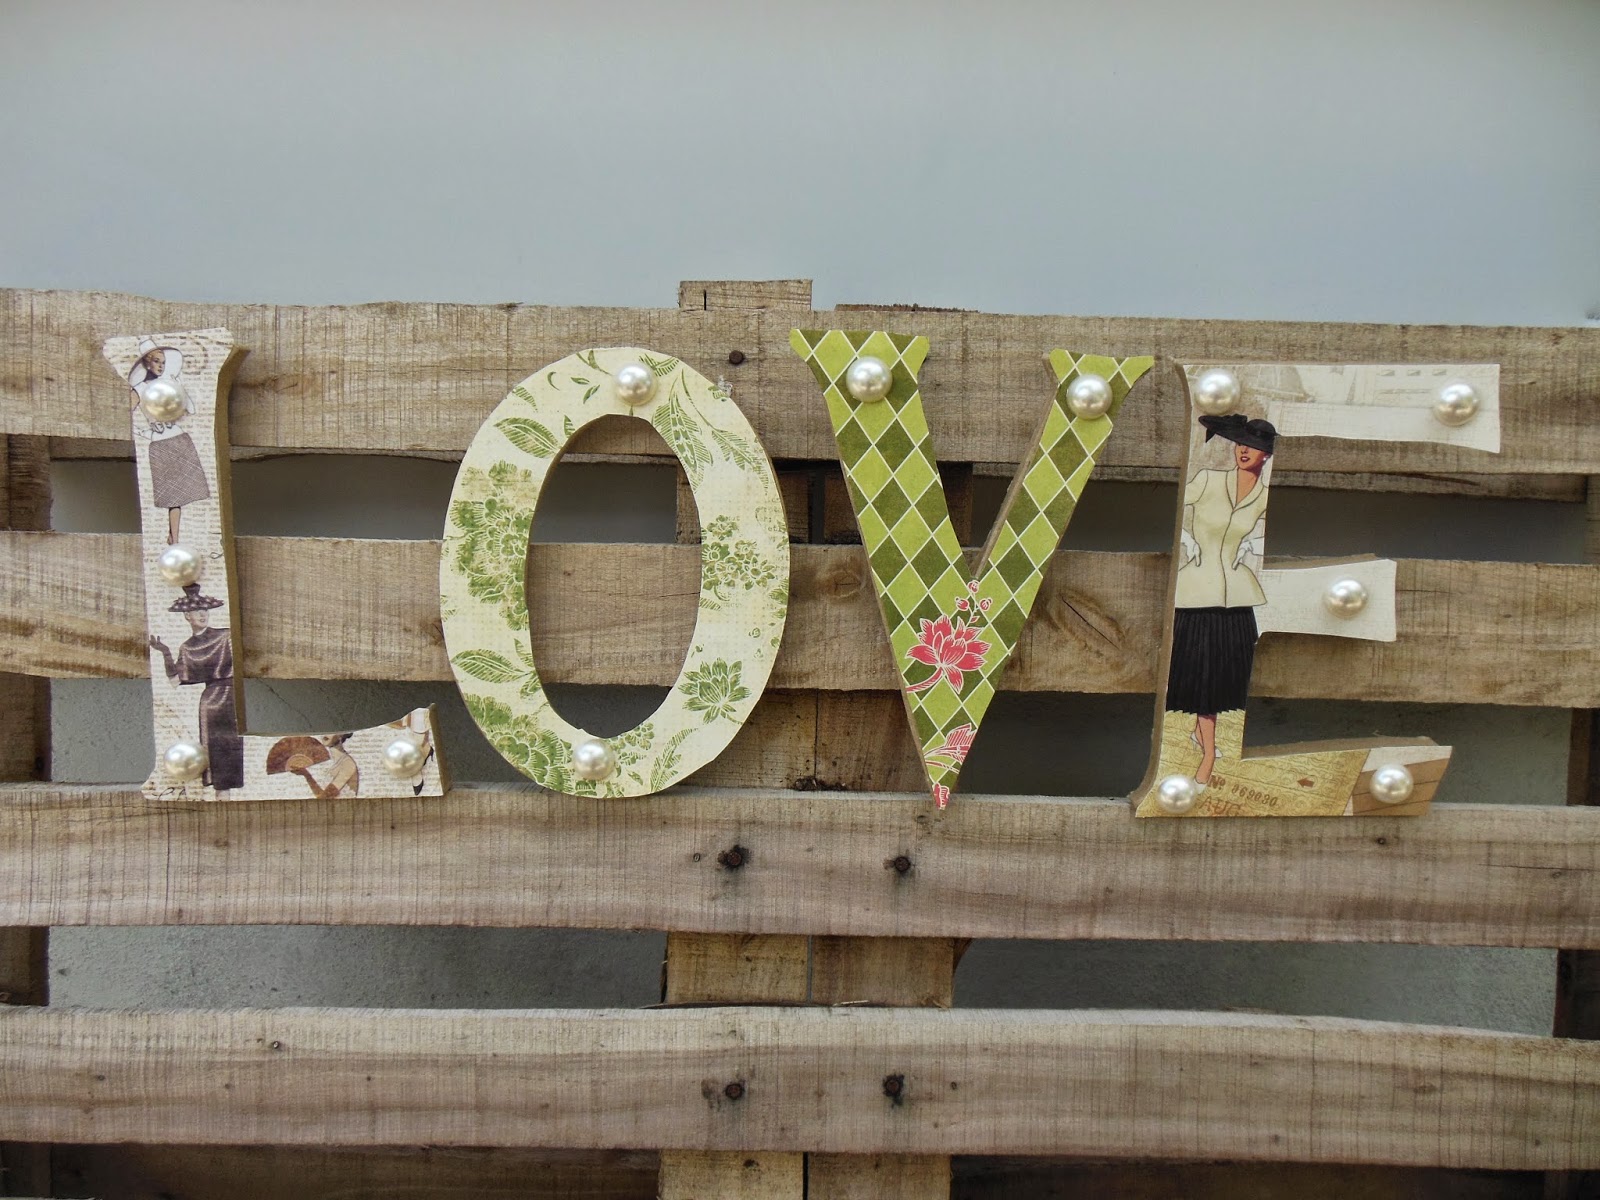
But wait......what happened to the top half of the letters? I always try to re-purpose....you don't have the channel depth on the front of the letters (the "o" and "v" would be fine, but your "l" and "e" would be backwards). I found some fun papers in my stash, covered the front of the letters and added some pearl stickers I had left over and you have another cute sign.
Have fun! Please leave me any comments if you like what you are seeing on my blog and please follow me (gratuitous self promotion time).


Love!!! No pun intended :) I may do one of each of my granddaughters names for over their bed :)
ReplyDeleteGina Satrape
Thank you Gina!
DeleteOMG! Patti this is such a fun and fabulous project, great tutorial:) TFS
ReplyDeleteHugs,
Norma
Thank you Norma!
Delete