
If you have ever spent a minute on Instagram or Pinterest you know about IKEA hacks. My husband and I are obsessed with the MOPPE mini storage box. Very simple, well priced with a wealth of opportunities on how to use.

I was looking for a new box for jewelry/make up and I decided this was my chance to delve into the IKEA hack world. My inspiration was the Tiffany blue box, as nothing says jewelry or girly like Tiffany!
YOUR TURN
For my example I used:
- MOPPE mini storage box from IKEA
- Krylon spray paint/primer in Blue Ocean Breeze (I googled "Tiffany Blue/Krylon" to come up with a perfect match)
- Krylon spray paint Clear Sealer
- Assorted doorknobs
- Assorted costume jewelry pins
- Disposable gloves
- E6000 glue
- Fabric
- Sandpaper
- Tin snips
- Tack Cloth
File down any rough edges with fine grit sandpaper and clean up with a tack cloth. With any spray painting, follow the manufacturer's instructions. I applied about three coats of Krylon Paint+Primer in Blue Ocean Breeze to achieve the coverage I wanted.


Remove the drawers to paint separately. As you will see why later, I painted the "back" of the drawer as opposed to the front with the finger pull.


Once all coats have dried, spray with the clear sealer -- I only used one coat of the sealer.

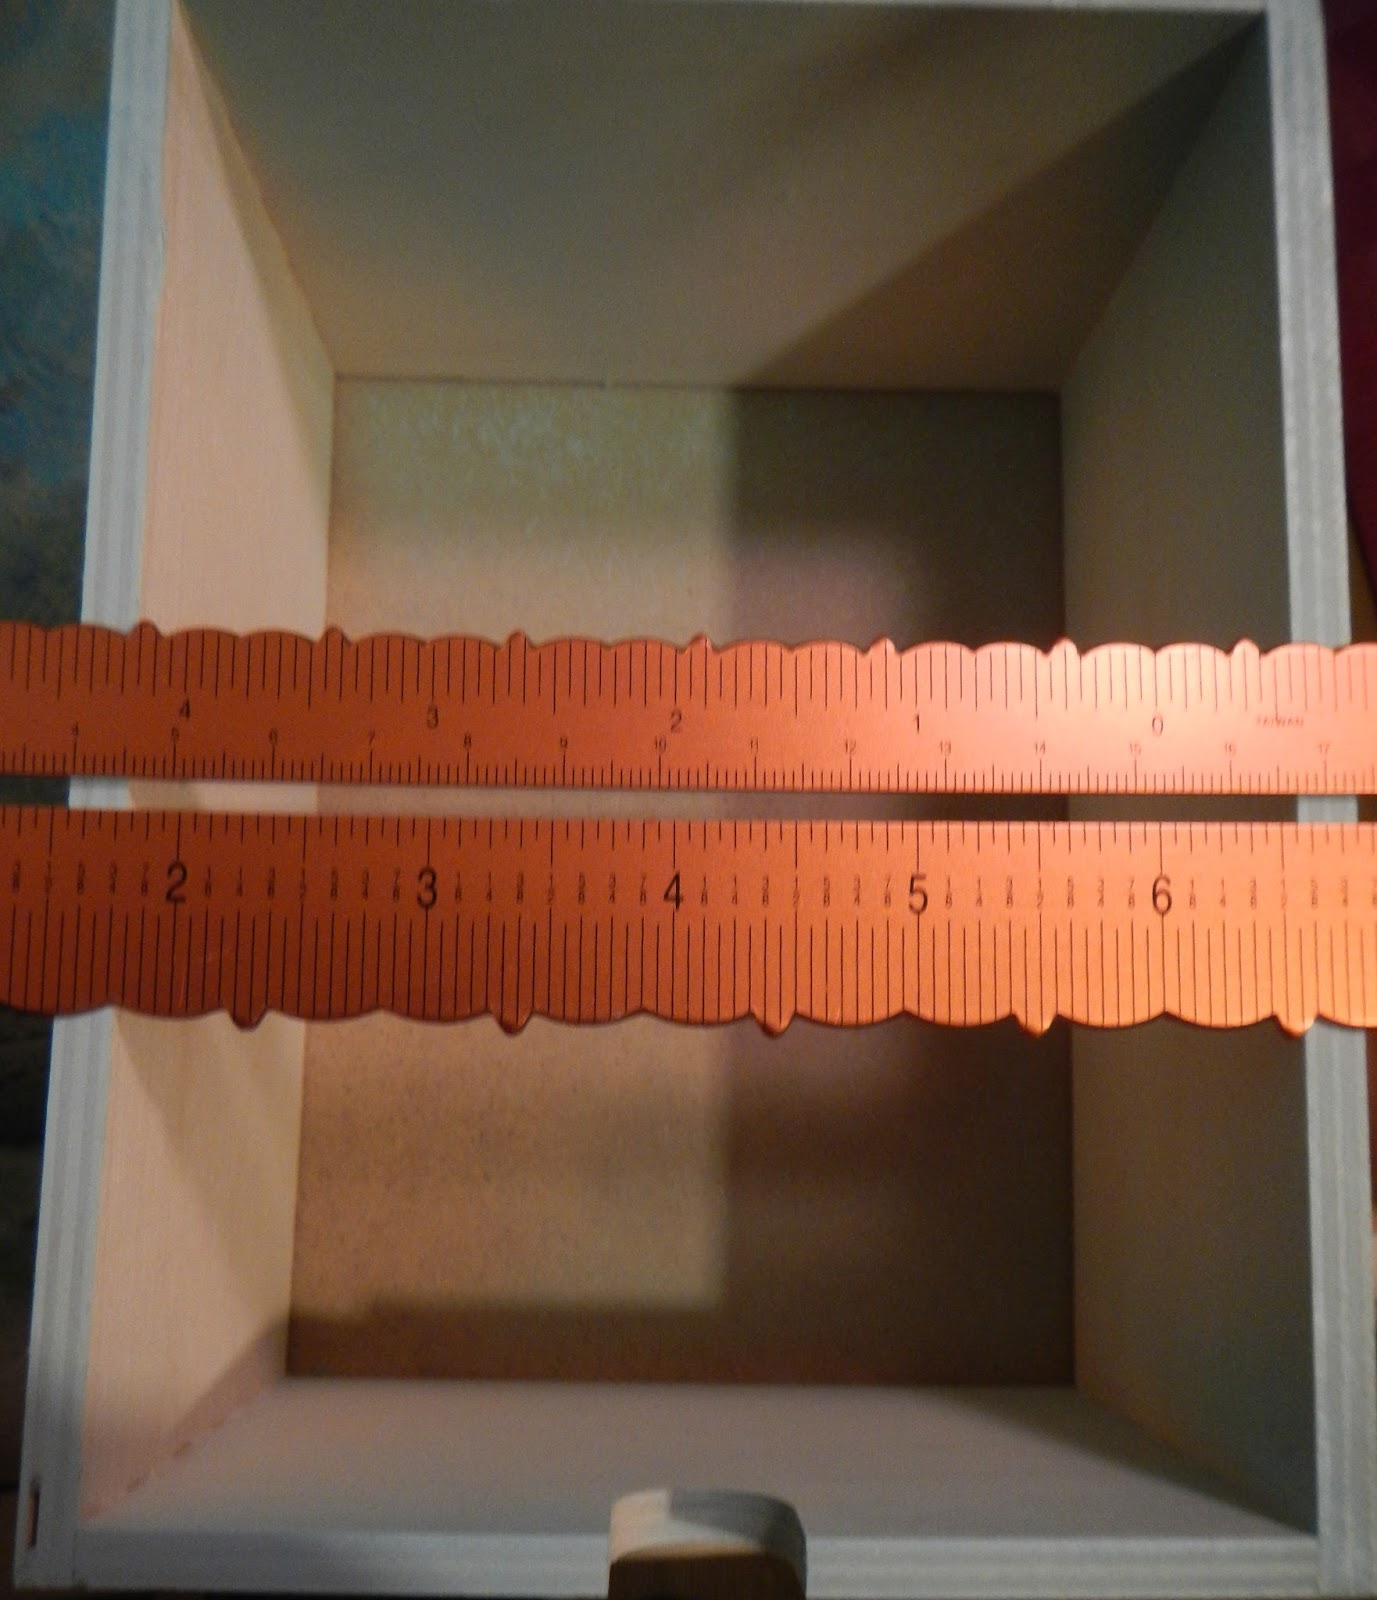
Measure the inside of the drawers and cut your fabric accordingly. You will end up with 6 pieces of interior fabric.


STUDIO HINT: When searching for fabric to use, find one that is machine washable. I chose not to glue down so they would be easy to wash -- especially when using for a makeup box.
I wanted to have "glam doorknobs" so I selected some shiny silver ones as my base. Measure carefully and screw in the knobs. This is why I turned the drawers around when painting. I thought using these as opposed to the finger pulls made it a little more dressy.


When the doorknobs are secure, lay out different pins to see which ones you want to use. I have been collecting pins since I was a kid, but EBAY has some great deals which is where I received this stash from.
Using the tin snips, cut off the back of the pins so you are left with a flatter surface for adhering to the top of the knob.


STUDIO HINT: Cut the backs off over a garbage pail otherwise you will find little bits of pins next time you are walking around your craft area. And you usually you will find them when you are barefoot.
Cover the back of the pin, and a little bit of the knob, with the E6000 glue. Hold in place for a few minutes to set up.


 And my first IKEA hack is done! Happy Crafting!
