Wednesday, April 29, 2015

Collage Letters for Mom

MY STORY

     It's Decorate To Celebrate Challenge Time again!

     I still love the trend of rustic letters, marquee letters so I wanted to incorporate this idea along with a gift idea for Mother's Day.  With products from The Paper Source and The Buckle Boutique and some ideas from Pinterest, I created some collage letters which I thought my Mom and any other Mom or Grandmother would like to receive -- and it is a great project for kids to help out with.

YOUR TURN

    The materials you will need:


  -Paper Mache letters -- I had an X and a O but you can spell out MOM or her initials, any combo you want.  The Paper Source products I have found the best to work with
-Acrylic Paint -- This example uses Burnt Umber color which I think gives the paper letters the look of rich wood
-Mod Podge -- This example uses Matte/Antique finish but any version will work
-Foam Brushes
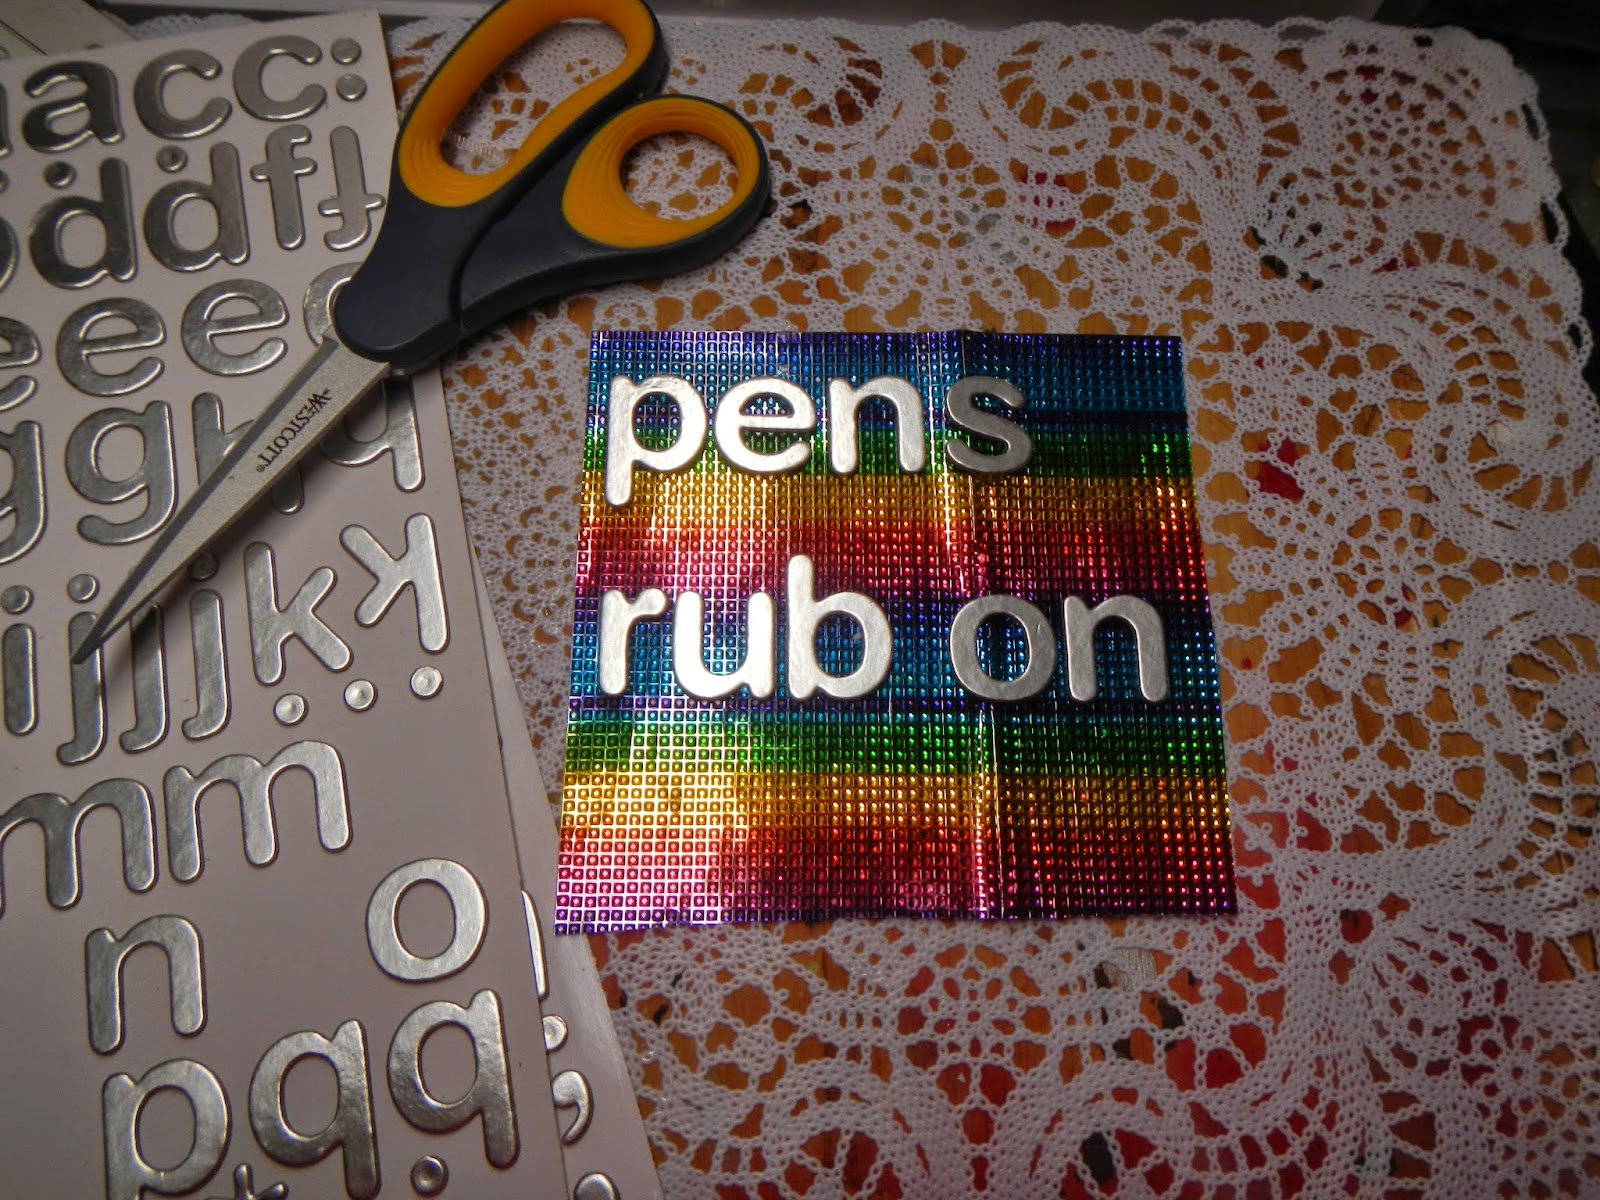
-Pieces of rhinestone sheets from The Buckle Boutique
-Inspirational place cards from the Paper Source

1.  Paint a thin layer of the acrylic paint on your letters.  I liked the look of 1 coat but after your first coat dries, you may want more coverage/darker color.


2.  Using your computer, print out some special pics you want to include.  I used the wallet setting on my printing and then trimmed around them.


3.  Cut out the place cards.  Lay out all elements on your letters before applying any Mod Podge.  Once you are satisfied with the layout, take a photo to remember your placement.


4.  Add a thin layer of Mod Podge on your dried painted letters and place your place cards and photos as desired.  Press lightly.  It is ok if some of our photos go around the edges -- I like that look.  You can cover your letters with as much or little as you desire.  I wanted some of the paint to show through, but you can cover every available space if you prefer.

5.  Once your photos are placed, apply another layer of Mod Podge.  Be careful so you don't rip any of the paper.  Apply two coats -- let dry between coats.

6.  Once completely dry, add your blingy bits as desired. 


And you are left with some fun letters for Mom, they are great to stand alone, hang on a wall, etc.

Have fun!!!!


RhinestoneBorder
Follow The Buckle Boutique at our Blog  //  Facebook  //  Twitter  //  Pinterest
Shop The Buckle Boutique at our Main Store and Etsy
Tips and videos for cutting our rhinestone sticker sheets can be found HERE
Are you a retailer who would like to carry The Buckle Boutique's products in your store?
Please contact us for wholesale pricing information.

Tuesday, April 21, 2015

Sweater Rehab....7 no-sew ideas

MY STORY

     Although my husband's favorite sweater was well loved, it was time to say goodbye.  It was worn through in places, big holes in others, stains in some spots and totally stretched out.

     But I thought there must be a way to salvage some of this -- back in the day it was a beautiful sweater.  So here are 7 no-sew ideas.  I have not used the whole sweater -- so let me know if you have any other ideas, I still have leftovers!


YOUR TURN

1.  Cut off one sleeve, including the cuff.  Using a dollar store vase, simply pull the sleeve over the vase and there you go -- a cozy little vase for your favorite flowers.


2.  Keeping plants in mind.....this sweater had a mock turtleneck.  Cut off completely under the seam, keeping the neck in one piece.   This fits beautifully over my dollar store bowl.


3.  As I was working with the sweater, it felt very Holiday to me.  So for this idea, using embroidery hoops, cut out part of the body of the sweater.  Although it is sweet as it is, the cable also enables you to feed ribbon through the knit.  And I loved the red velvet in contrast with the cream sweater.  You can use as much or as little ribbon as you want.


4.  Here is a fun little bangle idea.  Using the other sleeve, cut off the cuff from above the seam so you are left with a continuous piece.  Again, my dollar store pulled through with this clear bracelet bangle.  Using only a couple of bits of glue, place the cuff over the bangle.  Since the edges can get frayed, I used the same velvet ribbon and glued a little trim on the bottom.  It looks very Mrs. Claus to me while you are wrapping gifts or baking cookies.


5.  On the holiday theme, I had several mini canvas and easels left from my Holiday crafting.  Cut out parts of the body of the sweater and use fabric glue to adhere.  Turn the canvas over and trim the edges.  Paint parts of the easel -- since I loved the red velvet ribbon, I chose red acrylic paint.  Add some chunky stickers (you will need a little bit of glue as the sticker didn't stay too well on the sweater).


6.  Utilizing the other sleeve, cover a plain wine bottle holder for cute gift wrapping.  You can even be adventurous and add little button eyes and nose, could end up being a snowman.


7.  At a recent trip to Michaels, they had really beautiful frames -- buy one, get one.  I can't resist a good sale and I thought this frame was gorgeous.  Cut out part of the sweater body and use in place of a photo.  I also had these small metal marquee letters and added to the front of the glass.  What a nice wedding or housewarming gift this could be!


I hope you enjoy and please leave me any other ideas and I will post them!!


Wednesday, April 15, 2015

Organize with Bling and The Buckle Boutique

MY STORY

     One of my fav retailers, The Container Store, was recently having an office supply sale and with spring right around the corner, it was time for some organizing in my studio.

    Instead of having just plain boxes, I needed to add some bling and color and The Buckle Boutique rhinestone sheets were the perfect solution.  Check out their facebook page:  FACEBOOK page and their website for great products and inspiration:  Web Page

   HINT:  I like to save my scraps in a little container -- sometimes you just need a little bling for a project so don't throw your bits away!

YOUR TURN

     I love these chunky stickers I found at Michaels and bought up a ton!  This project is so easy and takes just minutes.


    Based on what you are using your boxes for, lay out the words on a sheet of The Buckle Boutique rhinestone sheets.  Cut out and adhere and that's it! These sheets are so easy to cut.  I'm still researching a fancy cutting machine for my studio, but my Westcott non-stick scissors work really well too.


   I love the color in my studio and the rhinestones really make the sticker letters pop.  This is an easy project to do for a wedding keepsake box, a baby gift -- the look is so easy to change up and since there is such a large selection available at The Buckle Boutique, your opportunities to organize with Bling are endless!


RhinestoneBorder
Follow The Buckle Boutique at our Blog  //  Facebook  //  Twitter  //  Pinterest
Shop The Buckle Boutique at our Main Store and Etsy
Tips and videos for cutting our rhinestone sticker sheets can be found HERE
Are you a retailer who would like to carry The Buckle Boutique's products in your store?
Please contact us for wholesale pricing information.

Party Mugs at Decorate To Celebrate

MY STORY

      It's challenge time at Decorate To Celebrate!  Check out their page for great ideas for your party and gift giving projects.  DECORATE TO CELEBRATE Blog.

    I was asked again to come up with a fun party idea for a friend's daughter who is too old for a FROZEN party.  I came up with some ideas on decorating mugs which I thought was easy for any age to do and just by changing up some of the elements, there are many ways to dress up basic dollar store mugs.  NOTE:  These examples are using the Sharpie brand permanent markers.  They can only be washed by hand.  For mugs that can be put into the dishwasher, use ceramic paint or oil based paint and bake in an oven for permanence.  There are many YouTube videos or google info on these paints for the best results.

YOUR TURN

   Keep your eye out for sales at any retailer that sells plain mugs.  I found these at my reliable neighborhood dollar store.  Before applying any ink, wash the mugs and then wipe with rubbing alcohol.  I got rubbing alcohol wipes at the drugstore and they are perfect.

   For this first example, pick two shades  of pen and stickers.  I like these chunky stickers I bought at Michaels.  You can choose whatever stickers you like, but these work well because they sit above the surface.


   Place your stickers as desired and then simply create dots around the letters with your Sharpie.  Concentrate the most dots by the sticker edges and lessen as you go out.  Remove the stickers and you have your first, party monogrammed mug.


   Using the same concept, I was playing around with a different color and stickers and thought this would make a cute mug to keep out for Santa on Christmas Eve.

   I am getting obsessed with gilding.  Martha Stewart has a line of products at Michaels that make it so easy to use this gold leafing process on many surfaces -- more on this application in future blogs!

   For this example, place your stickers as desired.  I used "l o v e" as I thought, if this worked out well, it might be a fun use for a wedding shower, wedding party, etc.


   Apply a thin layer of gilding adhesive on the surface, including the stickers.  Let sit for 1/2 hour or so.  The adhesive will be clear but sticky.

   Remove a gold leaf sheet from the package and place gently over your mug.  Rub it into the surface with your fingers.  Depending on the surface, you may need more than one sheet.  Let dry and then rub with a brush and the tiny bits that didn't stick will fall off.  HINT:  Do this over a garbage pan.  I learned the hard way, trust me!


  You can leave as is

  Or remove the letters for a different look.  Might look nice on a table to do a combination of these effects.

   I also tried just gold leafing the letters, using the same steps as above.  I liked the way this looked too.  And then I combined with the dots process in black ink and I loved this color combination.


  And then I removed the letters again for another different look.

  There are so many combinations and ways to experiment.  You can do this for baby showers, any holiday and they can be either whimsical or dramatic.  It all comes down to your ink color, type of stickers, etc.  Have fun crafting!!