Thursday, July 24, 2014

DIY Faux Marquee Lights

MY STORY
     I am loving the current decor trend of marquee lights.  I especially love real vintage ones.  So I researched Pinterest, etc., and came up with this tutorial on making my own Faux Marquee Lights.  I think they are cute!!!

YOUR TURN
    I found the perfect paper mache letters at The Paper Source.  The first step takes a little elbow grease.  Using a sharp knife, slice through the letters halfway through.  I discovered it doesn't have to be a perfect line, the jagged edges kind of look cool in the end result.  HINT:  The paper mache starts to get a little fragile so go gently so it does bend.

    When you are finished, you will have a dissected letter.  Keep the top half for another project.  The bottom of the letters are what you will be using for this project.  HINT:  Do all the steps on one letter.  To be sure you like the technique, colors, etc., complete one letter.  If you are happy with the result, then you can do the other letters in an assembly line.

    STEP ONE:  paint a sealer onto the letters.  Trust me, it will make the paint flow and adhere much better. Let dry.

    STEP TWO:  paint your desired color onto the letters, don't forget the sides.  I was going for a very specific look and the paint name "red iron oxide" was exactly the treatment I was going for.  Go through pinterest, the web, for other ideas.  Paint two coats.  Let dry.

    STEP THREE:  apply a thin coat of metallic gold acrylic paint.  Work in small sections....before the paint dries, wipe it off with a paper towel.  This gives you the hint of metallic without covering up your original paint choice.  Again, let dry.


   STEP FOUR:  optional...I painted a thin coat of crackle medium to help in the aging process.  Very subtle result, so you can probably skip if you are getting impatient.

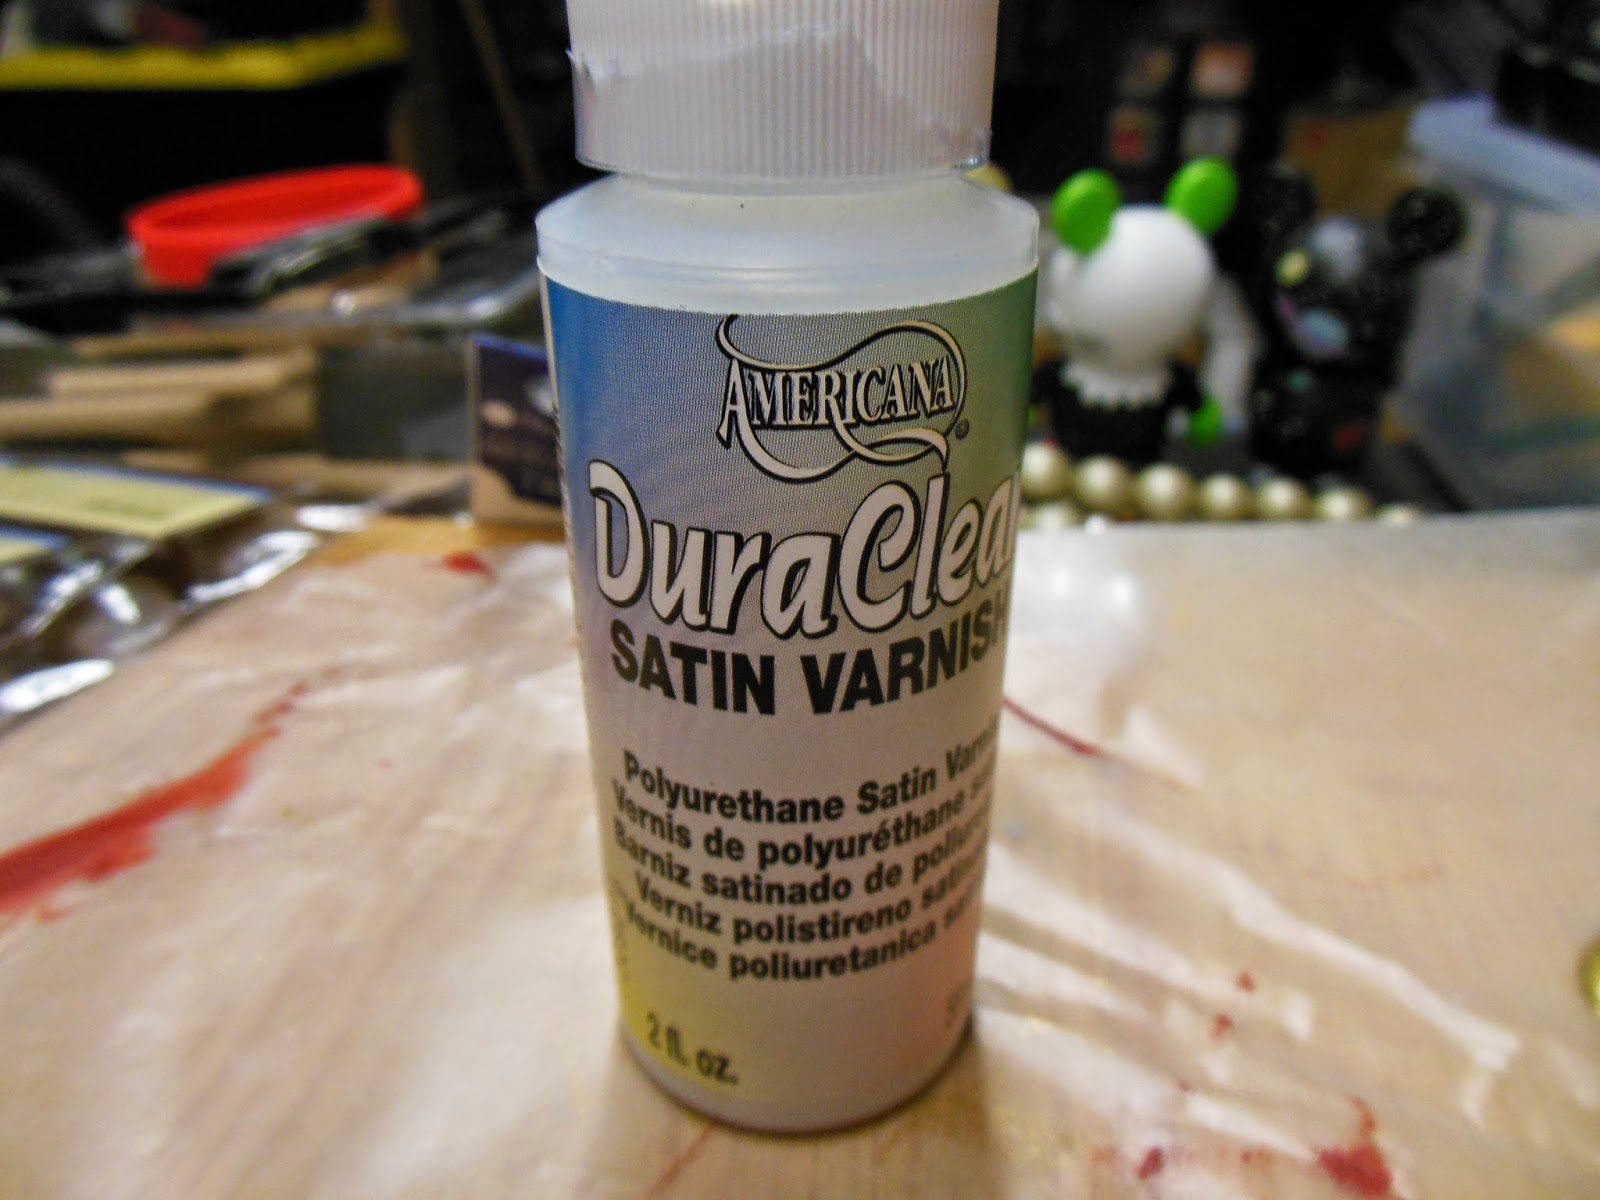
   STEP FIVE:  When crackle is dry, cover with two coats of a satin varnish to seal in the color.

   STEP SIX:  While the varnish is still wet, place your "lights" .  I found these perfect pearl stickers by Recollections.  They have a flat back, and being stickers, already have adhesive on them.  And by applying them when the varnish is still wet, the stickers stay put.


And you are happy with the first letter, now you can lay out the rest and do all the steps at one time.

And that's it.....I think it is a fun look and I can hardly wait to try out additional colors/techniques.


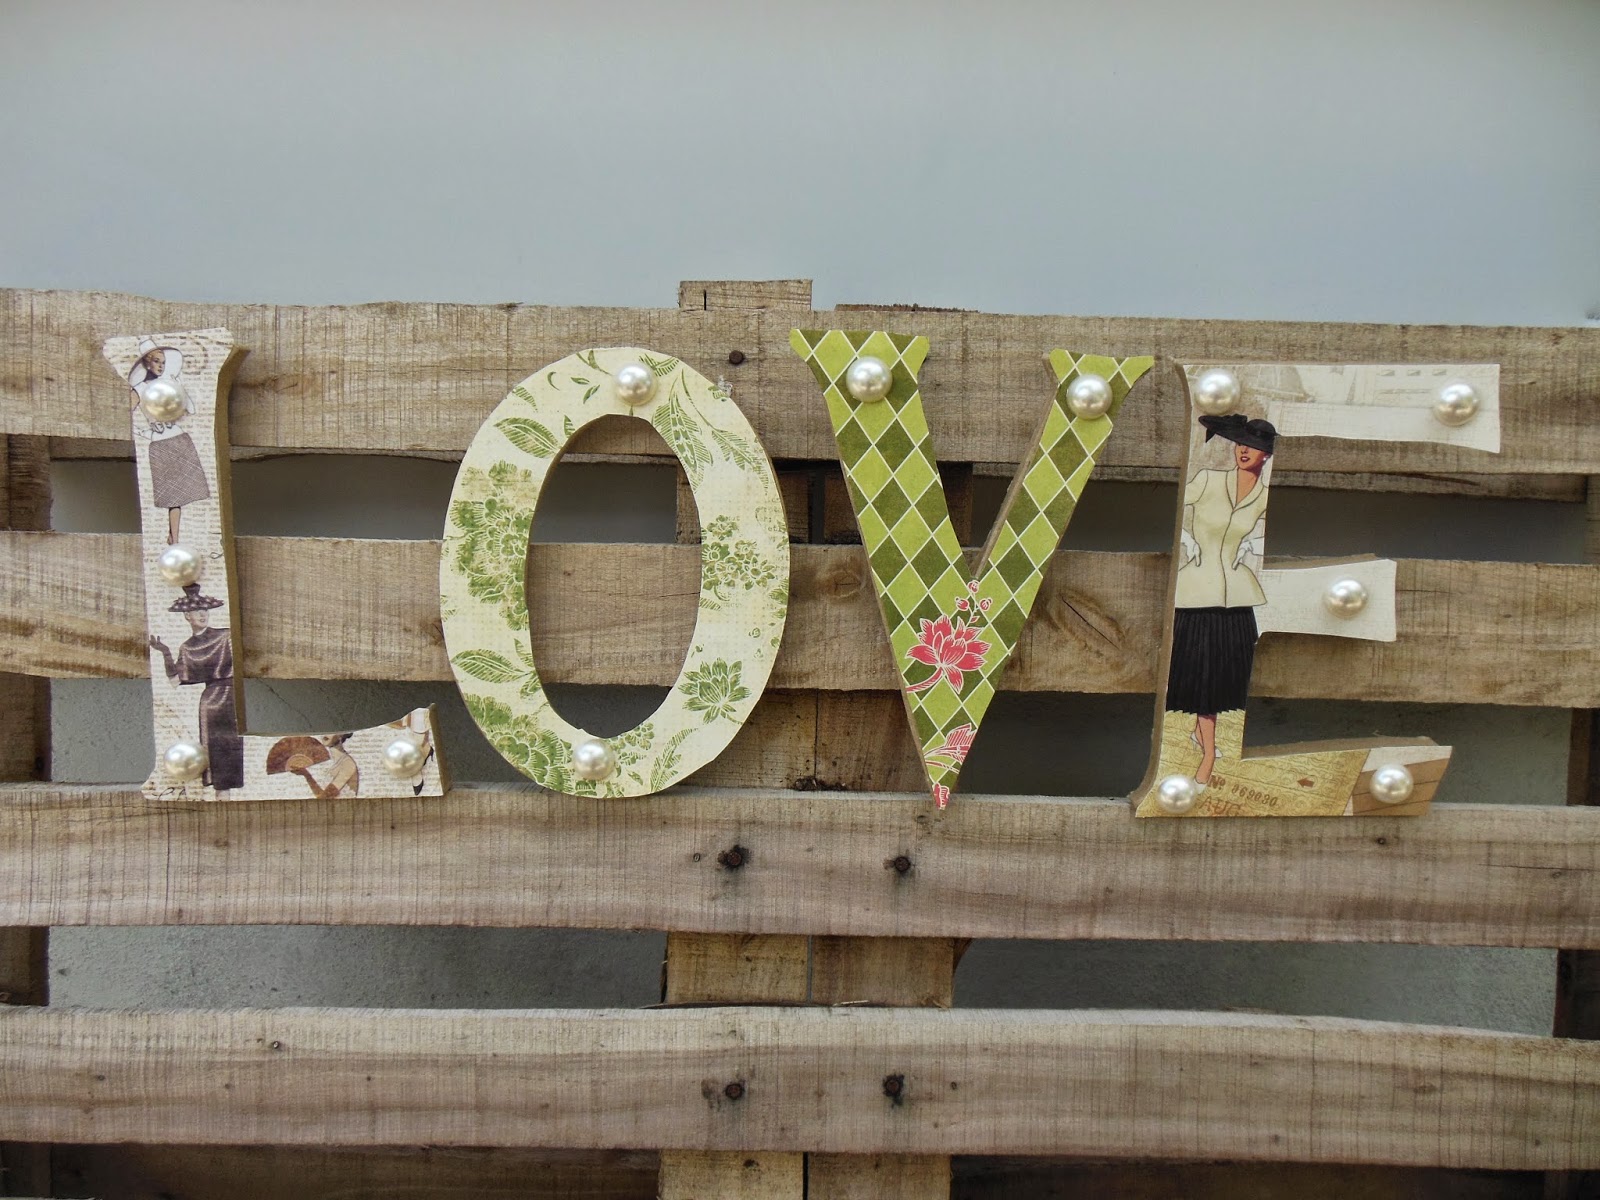
But wait......what happened to the top half of the letters?  I always try to re-purpose....you don't have the channel depth on the front of the letters (the "o" and "v" would be fine, but your "l" and "e" would be backwards). I found some fun papers in my stash, covered the front of the letters and added some pearl stickers I had left over and you have another cute sign.


Have fun!   Please leave me any comments if you like what you are seeing on my blog and please follow me (gratuitous self promotion time).


Wednesday, July 23, 2014

SWIM PARTY Awards...Decorate To Celebrate Design Team Challenge


 MY STORY:
     Nothing like a little competition during the dog days of summer!  At your next pool party, why not create fun and easy to do award medals?  That way, everyone will get into the "swim of things".

YOUR TURN:
     I found bags of inexpensive medals at Michaels and at my fav dollar store.  Also at Michaels I found some round label tags that would fit perfectly on the medals.  In addition to some "serious" awards, I came up with some fun ones......especially for kids, it is important to me that everyone walks away with a medal.  Even if they don't compete in the belly flop contest, how about giving them an award from "cutest swimmies".  For adults, some fun ones might be "longest time spent on the lounge chair".
     Just handwrite some awards and glue them onto the medals.  Takes minutes......and costs less than $5.00 for everything:


     Before the events, I thought the medals looked cute displayed on the tabletop and as napkin rings.  To get everyone excited for your own Swim Olympics, grab an inexpensive white board listing the day's activities and times.


    Have fun and be safe!  I have to go practice now....I'm winning the perfect dive this year!


Saturday, July 12, 2014

Crafters Night Out

MY STORY

     This week I attended the Crafters Night Out workshop at my local Paper Source store.  The staff was well prepared and it was a blast.  I got to improve upon and learn new techniques, we each left with fun projects, great to meet some like minded crafty women, and shop with wine and cheese!   What a fun two hours.

     I highly recommend signing up for one of their workshops.  They are a couple each month and it was a great time -- visit www.paper-source.com for a listing.  Easy to sign up and was so much fun and informative.

     Here's a couple of my projects -- we worked on embossing techniques and I love what I brought home.  The workshop really fired up my creative juices.

    Whether it is at The Paper Source, or your local library, workshops like these are affordable and fun.  Go back to school -- it is never too late to learn something new.


Wednesday, July 9, 2014

Outdoor BBQ party - Decorate To Celebrate Design Team Challenge

MY STORY
     I love everything about summer...especially after a particularly gross Northeast winter, I love nothing more than sitting out in my backyard with friends and family and enjoying foods that only seem to taste good between June and September!

     For this outdoor BBQ party design team challenge for Decorate To Celebrate, I used my go-to washi tape supply.  Armed with some basic items from the party store and my stash, I think this is a fun and easy way to spice up your plain BBQ place settings.

     And washi tape is so amazing to use.  Very affordable and those rolls go a LONG WAY.  It is reposition able, but once you are set, it has great adhesion to almost any surface.

     Gotta go....time to put another shrimp on the barbie.....Happy Summer!

YOUR TURN


     I picked up some basic white plates, utensils, cups from my local party store.  I liked that the lip of the plates made for easy placement for the tape.  And sometimes you can get a deal on plain white.  While everyone else is buying themed paper goods, you can create your own.

    The plates:  My whole color scheme of greens and blues started with napkins I had purchased last year.  I loved them and knew I would put them to good use someday.  There really is nothing to applying the washi tape.  Just place, cut and you are good to go.  Experiment with different colors, widths, and designs to make them interesting.  No rules, whatever you feel like.  NOTE:  I would not use these plates for your big helping of BBQ ribs, but they are best for things like appetizers, fruit salads.


   The cups and utensils:  again the same principle. Just cut and place.  Really so easy, I kind of feel dumb even to try to explain it.  Trust me, anyone can do this.


   Napkin rings:  OK, so I save toilet roll holders.  I'm definitely not the most "green" person around, probably cheap is more like it.  I LOVE to re-purpose.  Just apply the washi tape as desired on the roll.  As you can see, you get slightly different looks if you place the tape longways or around.  No rules....have fun it's summer.


     To jazz them up a little bit I added some burlap scraps I had along with new stickers I just picked up at The Paper Source -- one of my most favorite retail haunts!

 
     Place cards:  Here are two quick and easy ideas for place card holders.  One is a mini frame (my fav clearance bin @ Michael's again).  Cover the cardboard template with tape and create the name on your computer, glue and done!  I also had place card holders left from a baby shower I had designed so just covered up the baby bits with tape,  Voila!


  I found two small milk bottles at Michael's, so thought they would be cute for little flower settings at each place.  Also, how much fun would it be to have a whole bunch of them centered on the table?  Totally reusable and all these ideas can be changed for any holiday or celebration just by changing out the colors.

Love these metallic placements from Party City!


     Enjoy all the beauty that summer brings!